Alarm mapping
Alarm mapping enables you to change the severity and text of alarms to adapt them to your business priorities. For example, a loss of the connection to a device is by default a MAJOR alarm but may be critical to you. To change this, add an alarm mapping to change alarms related to connection losses to CRITICAL.
ROLES & PERMISSIONS:
- To view alarm mappings: READ permission for the permission type “Option management”.
- To manage (create, edit, or delete) alarm mappings: ADMIN permission for the permission type “Option management”.
For easier user access management, the above permissions are included in the global role created by default in every new tenant:
- Tenant Manager - manages tenant-wide configurations like applications, tenant options and business rules.
To view alarm mappings
Click Alarm mapping in the Business Rules menu to see a list of all alarm mappings.
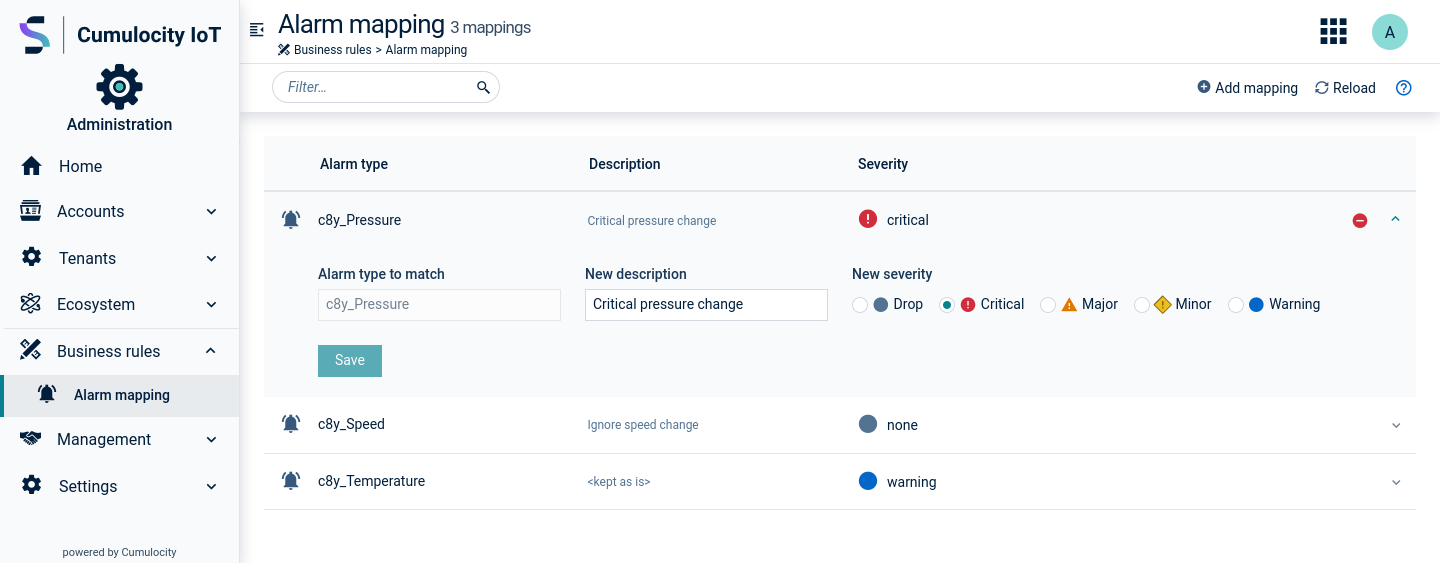
For each alarm mapping, the alarm severity, the alarm type and a description (optional) are shown.
To add alarm mapping
- Click Add alarm mapping in the top menu bar.
- Enter the alarm type to be modified.
- In the New description field, optionally enter a new description for the alarm. If you leave this field empty, the original text from the alarm will be kept.
- Select the desired new severity, or select “Drop” to not show the alarm at all.
- Click Save to save your settings.
To edit an alarm mapping
Expand an alarm mapping to edit it. You may modify the description and the alarm severity. The alarm type is not editable.
To delete an alarm mapping
To delete an alarm mapping, hover over it and click the remove icon which appears on hovering over the row.