First steps with Cumulocity
The following section highlights the basic steps to take if you are new to the Cumulocity platform.
If you are technically interested in our IoT platform, you might want to learn about the architecture, technical concepts and domain models behind Cumulocity described in Technical concepts.
Step 1: Logging into Cumulocity for the first time
To log in to the Cumulocity platform and access your tenant, use the following URL:
https://<tenant-domain>.cumulocity.com/
This will direct you to the Login screen of your default application.
On the Login screen, enter your username and password.
Click Login to enter the Cumulocity platform. Initially, you will be taken to the Cockpit application, if not configured differently. For further information about the Cumulocity standard applications see Available applications.
Go to Accessing and logging into the platform for more details on supported URLs, password reset, and more.
Step 2: Learn about Cumulocity’s basic UI functionalities and features
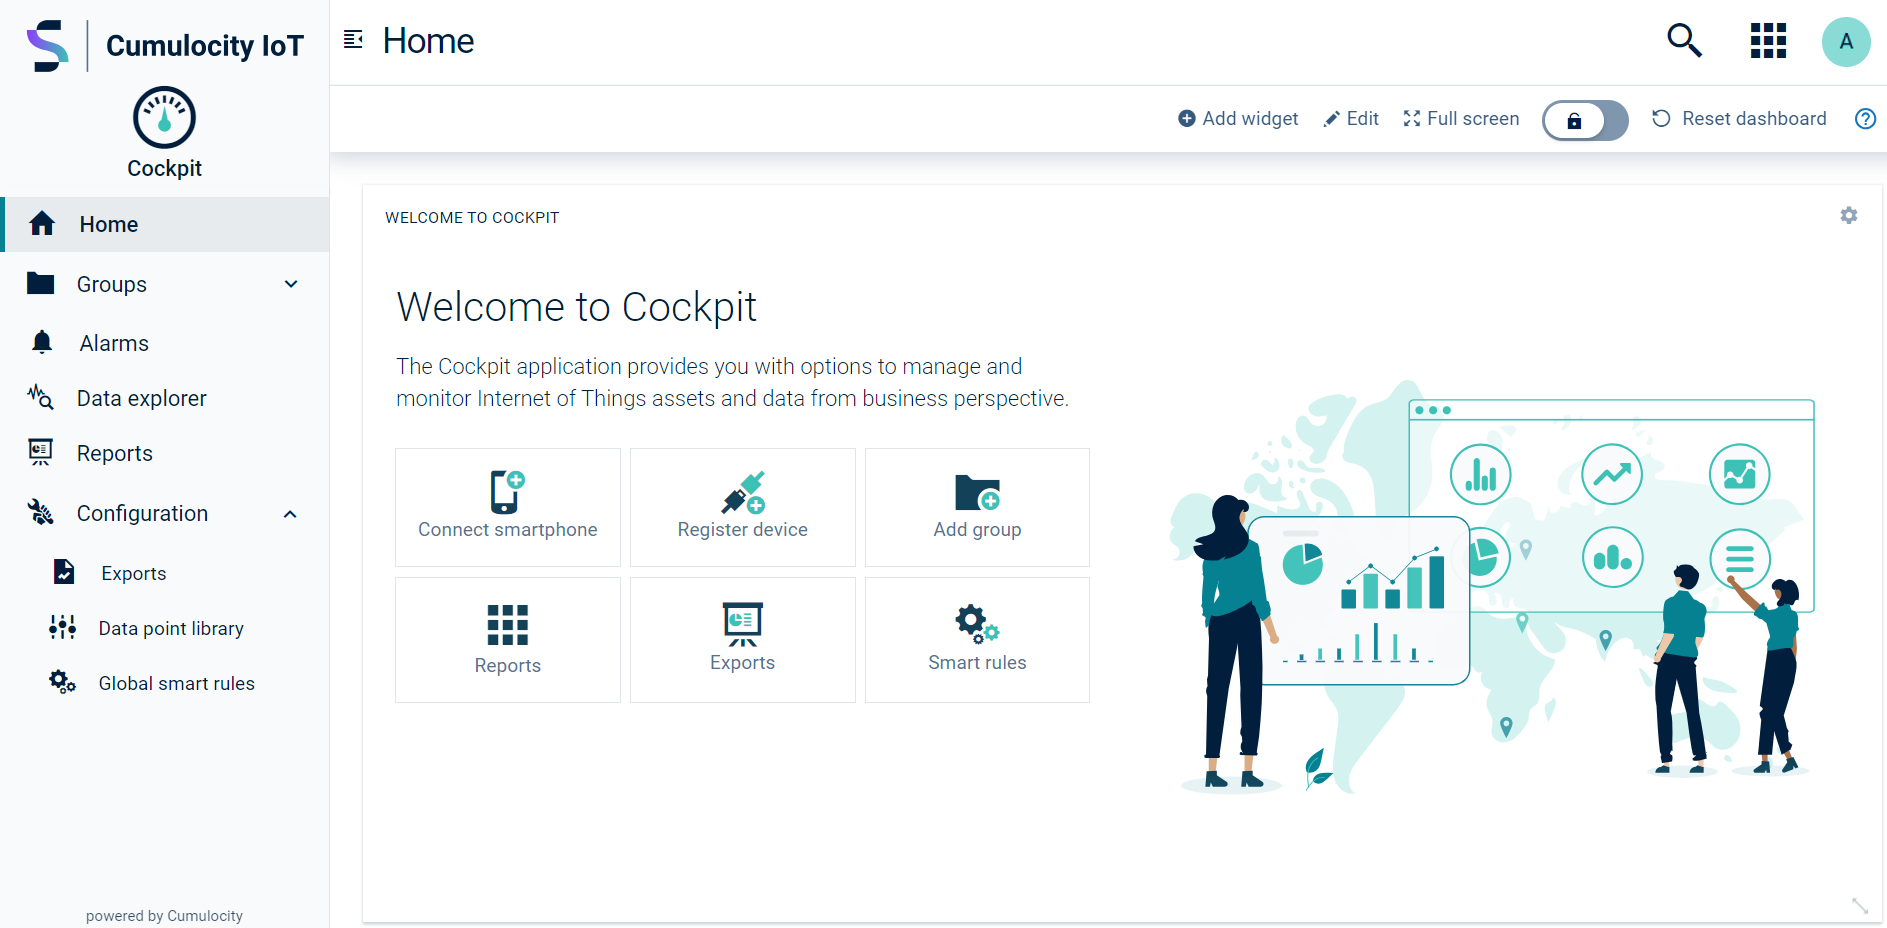
Main screen elements
All Cumulocity applications share a common structure and include the following screen elements:
On the left you have the navigator, which shows a list of entries leading to various pages of the application. The entries are grouped into menus and menu items.
In the middle you find the content of the actual page which has been selected in the navigator.
On the top you find the page title at the left. At the right you find various action buttons. Click the Search button to enter text for a full-text search. The Application Switcher button allows you to quickly switch between all available applications. Clicking the User button ![]() at the right opens a context menu with details on your account settings, as described below.
at the right opens a context menu with details on your account settings, as described below.
See UI functionalities and features for more information on all Cumulocity’s UI features.
Account settings
The user menu provides access to the following actions or information:
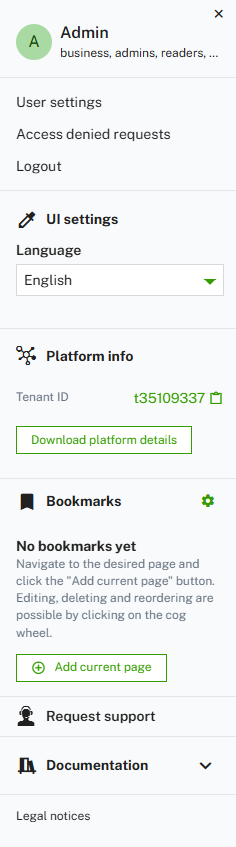
Click User settings to change account settings such as your password. Under UI settings, change the language of the UI. Platform info shows release information on the Cumulocity versions you are using. Moreover you find links to the product support and user documentation at the bottom.
See User options and settings for detailed information.
Step 3: Register a device
To connect a device to Cumulocity, you must register it in the platform. This is done in the Device Management application. Under Registering devices you find a detailed description of the general registration process.
Moreover, we offer two step-by-step descriptions to easily register a first device to your Cumulocity account:
- Connect a smartphone to Cumulocity using the Cumulocity Sensor App. The Cumulocity Sensor App is a free smartphone application available for iOS and Android smartphones.
- Connect a Raspberry Pi as demo device using thin.edge.io. The Raspberry Pi is a relatively simple and cheap yet powerful device. This makes it ideal for testing and trying out as well as some production use cases.
For the purpose of this tutorial, we will register a device via the Cumulocity Sensor App.
Connecting a smartphone with the Cumulocity Sensor App
The Cumulocity Sensor App is designed to collect measurements from your smartphone, nearby Bluetooth device sensors, and vehicle On-board Debug (OBD) sensors, and send them to the Cumulocity platform. The Cumulocity Sensor App can also send commands to the smartphone directly from the phone dashboard.
Go to Sensor App to see which smartphone sensors and Bluetooth devices are currently supported as well as more information on how to install the app available for iOS and Android.
Open the Apple App Store or Google Play Store from your smartphone and search for Cumulocity Sensor App to install it.
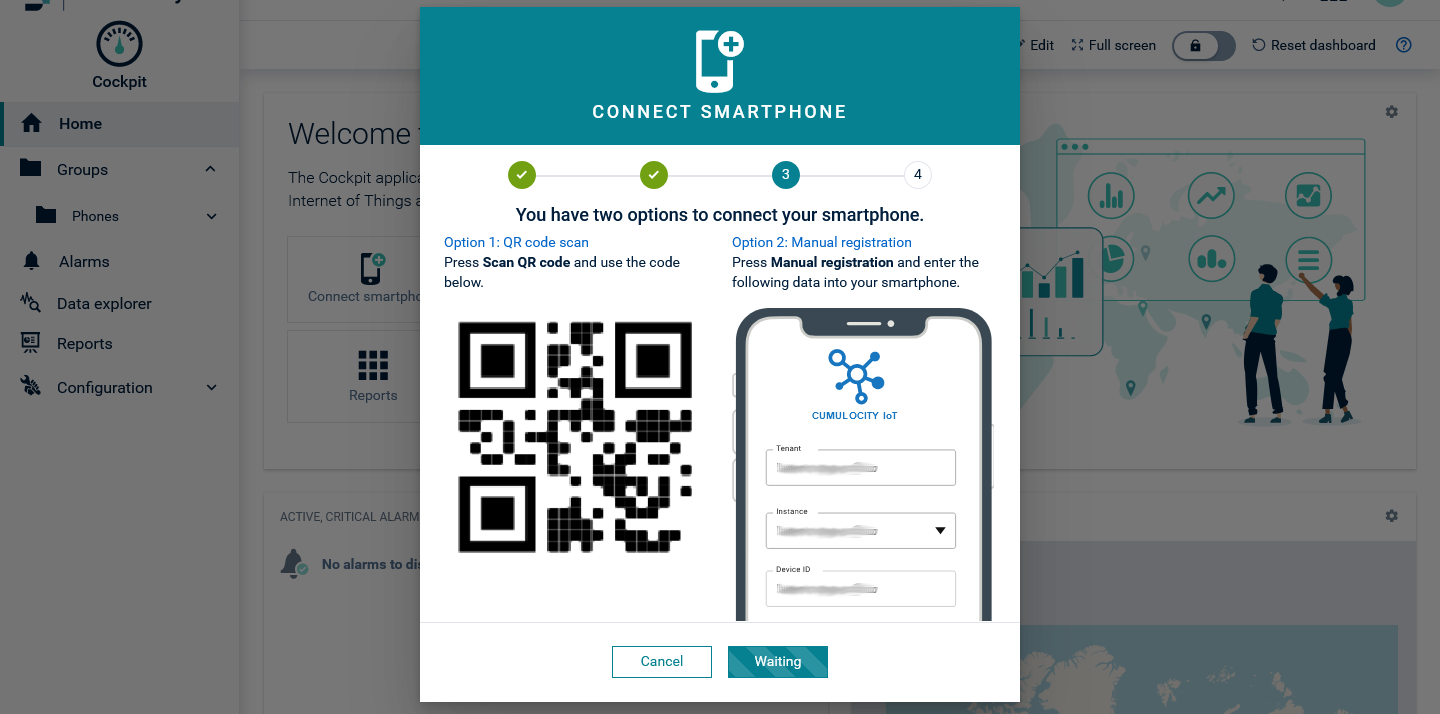
To connect your smartphone via QR code follow the instructions below:
-
On a desktop or laptop computer, open a web browser and log in to your Cumulocity tenant. From the Cockpit application, click Connect Smartphone in the Welcome widget.
-
Follow the instructions in the wizard to step 3, ensuring that the app is installed on the smartphone.
-
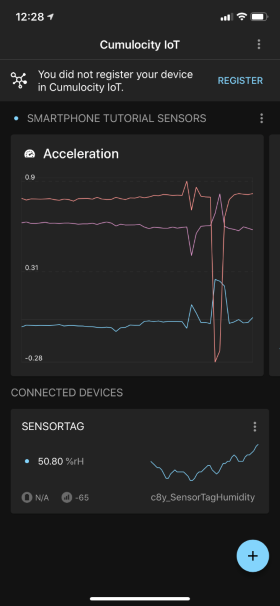
From your smartphone, launch the app and tap Register in the top right corner of the screen.
-
Grant access to your camera if the app asks you for permission.
-
Scan the QR code shown on your PC’s web browser. If you cannot scan the QR code, tap Manual registration on your smartphone and fill in the details at the right side of the wizard screen.
-
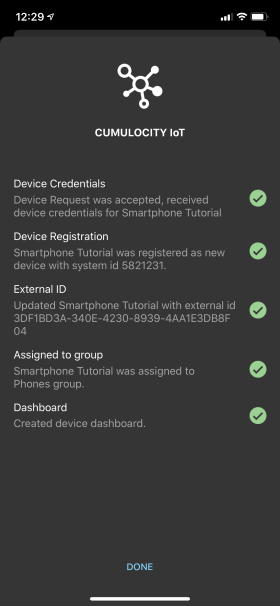
Back on your smartphone, tap Done. Your smartphone is automatically registered by Cumulocity and assigned to the “Phones” group.
-
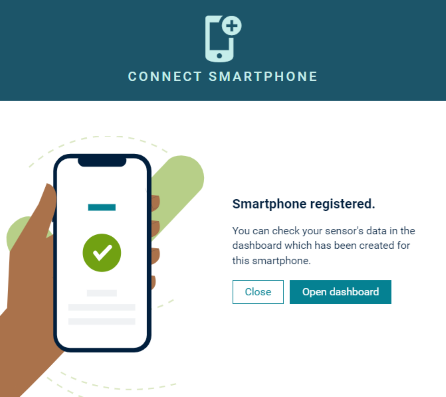
On the platform, click the Open dashboard button to view the dashboard that has been automatically created with your device.
You have connected your smartphone with the Cumulocity Sensor App. For details on how the app sends information to Cumulocity go to Sending sensor data to the platform. For information on how to view sensor data go to Viewing sensor data.
Next, you will learn how to customize the dashboard for your smartphone.
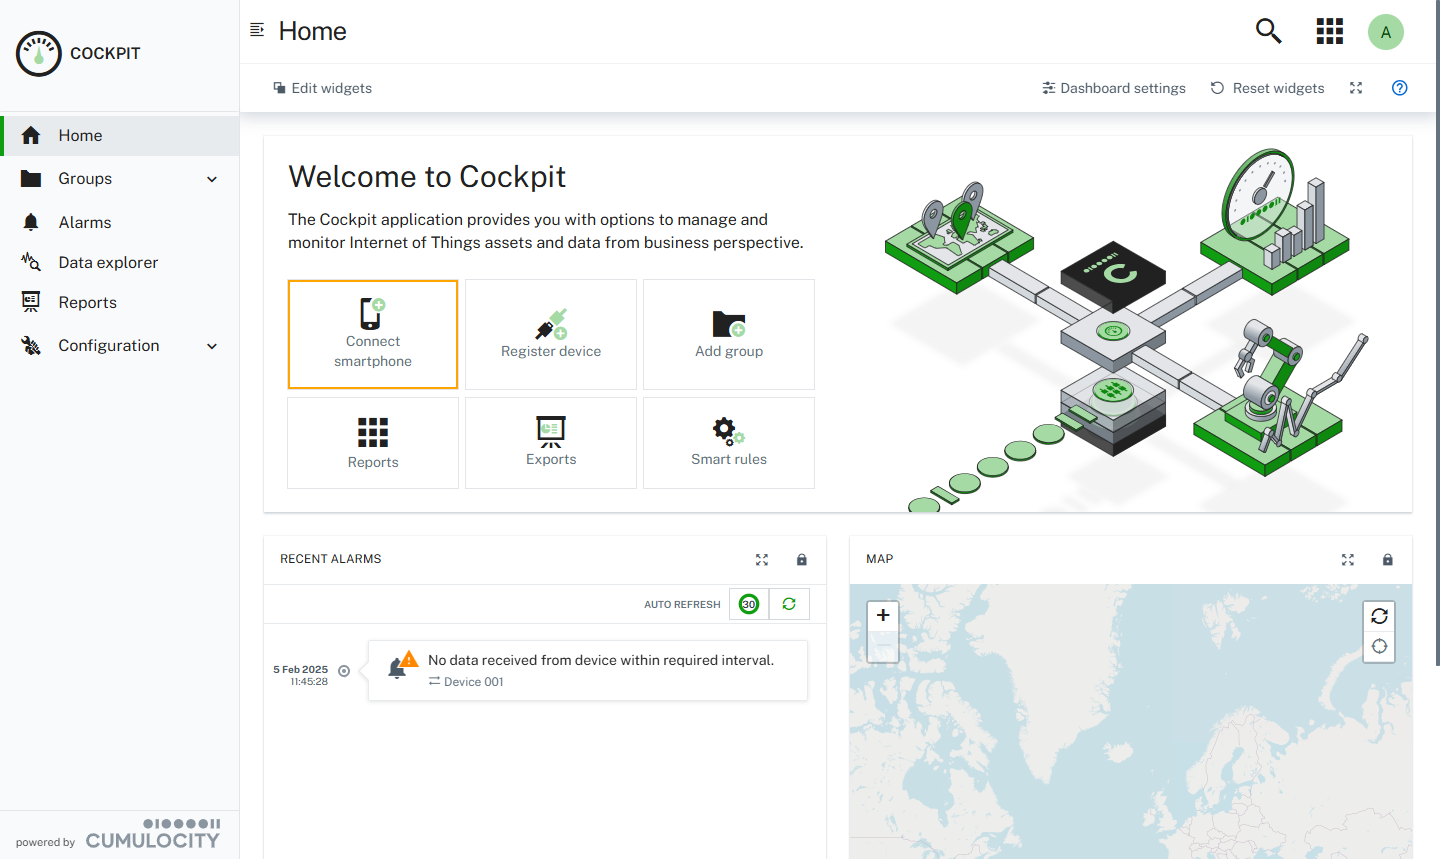
Step 4: Customize a dashboard
Switch to the Cockpit application via the application switcher ![]() at the top right.
at the top right.
The Cockpit application in Cumulocity provides you with an unrestrained overview and the essential dashboards to monitor your IoT data according to your needs.
On registering a device in the last step, a dashboard has automatically been created which can now be edited and designed individually according to your needs. You can add, remove or change widgets being displayed here allowing you to visualize data emanating from your device or devices. For details on each widget type refer to Widgets collection.
Follow the instructions below to customize the new dashboard of the device you registered in the previous step.
-
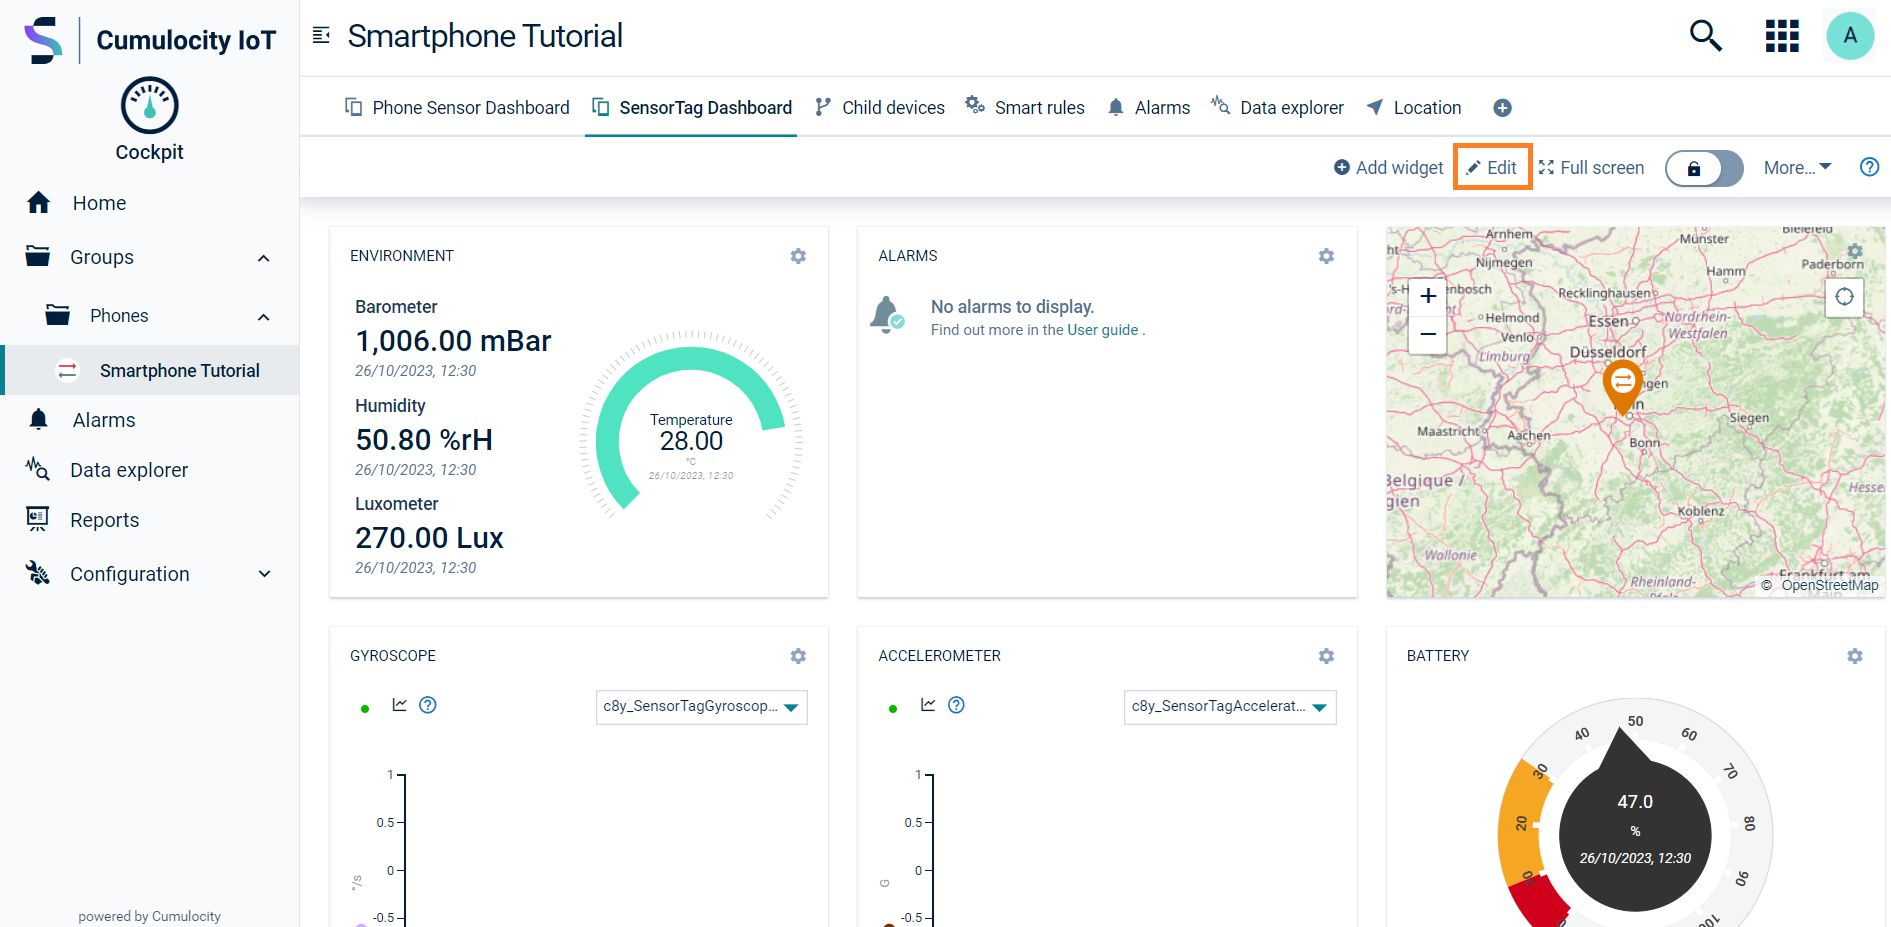
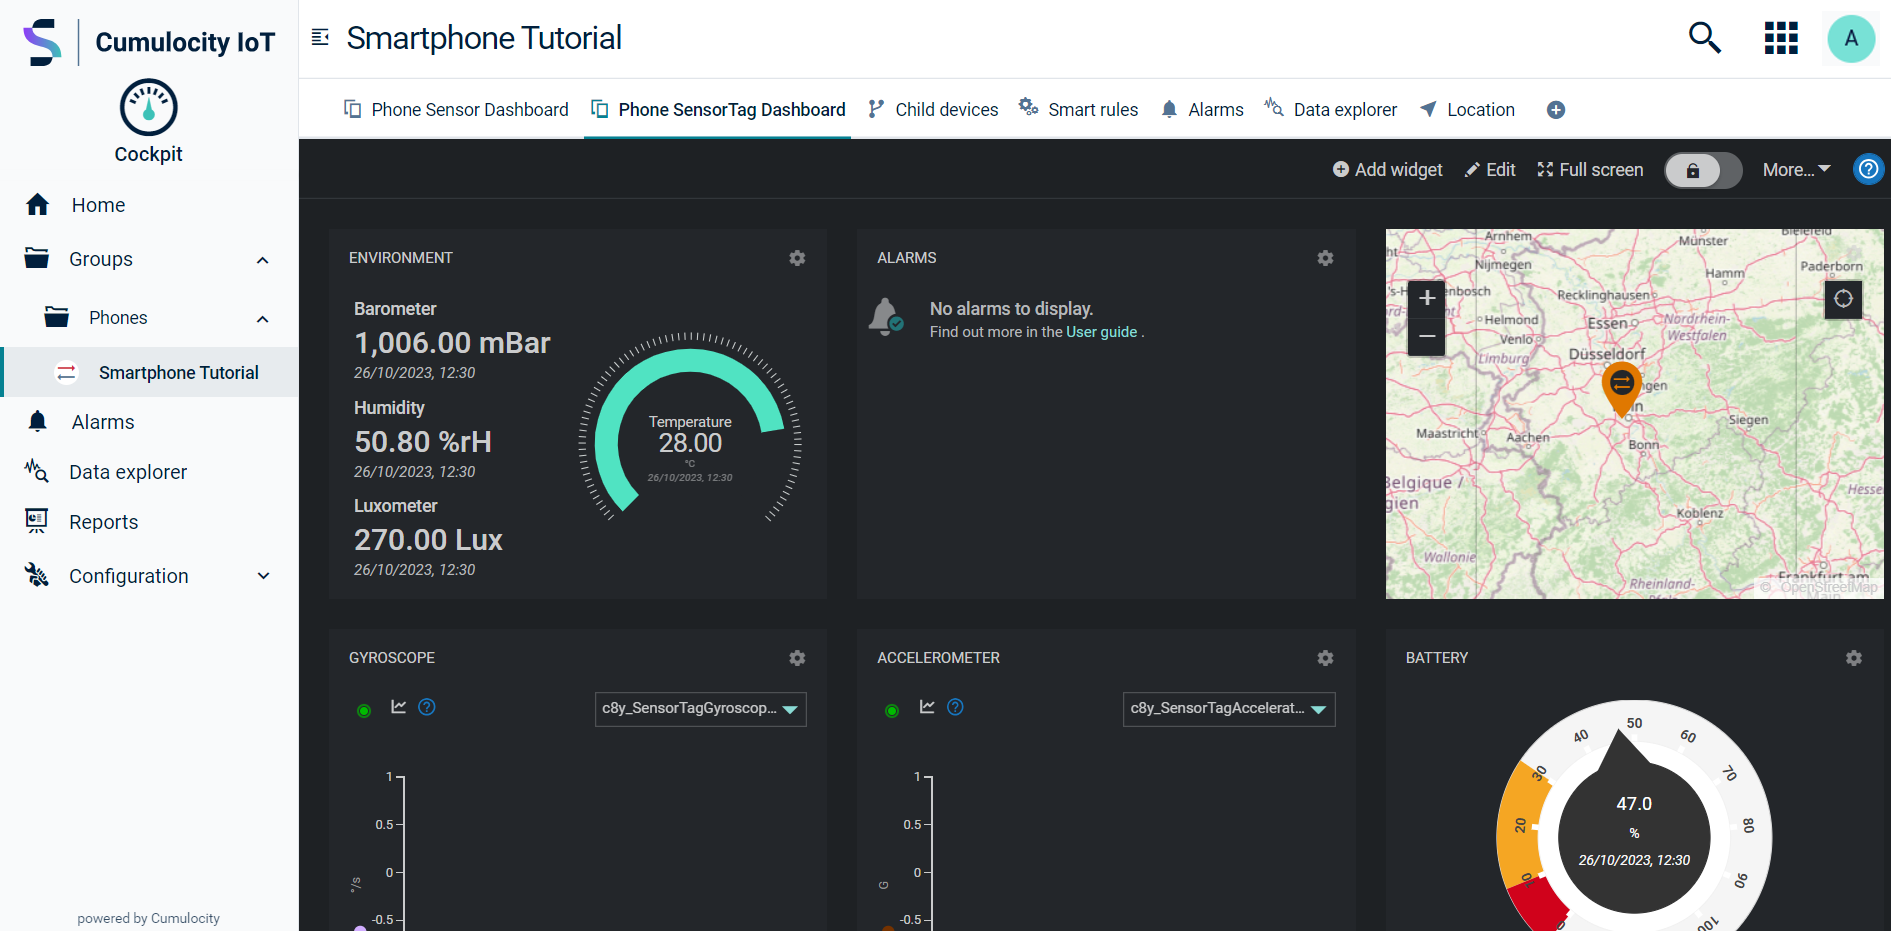
In the Cockpit application, select the device you created in the previous step (for example, your smartphone in the Phones group). Click the SensorTag Dashboard tab.
-
Click Dashboard settings in the top menu bar to open the editor.
-
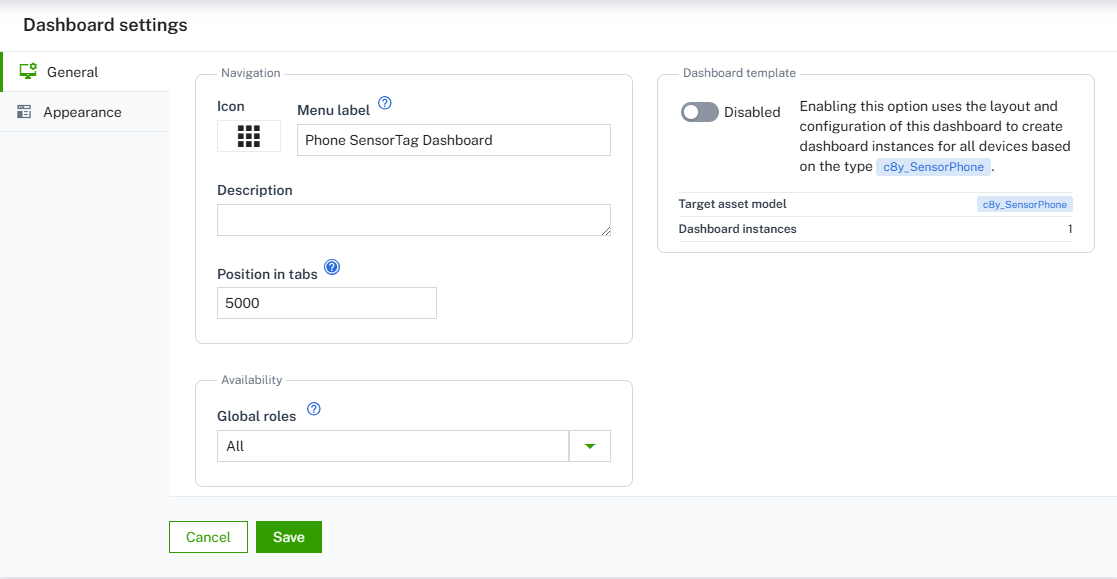
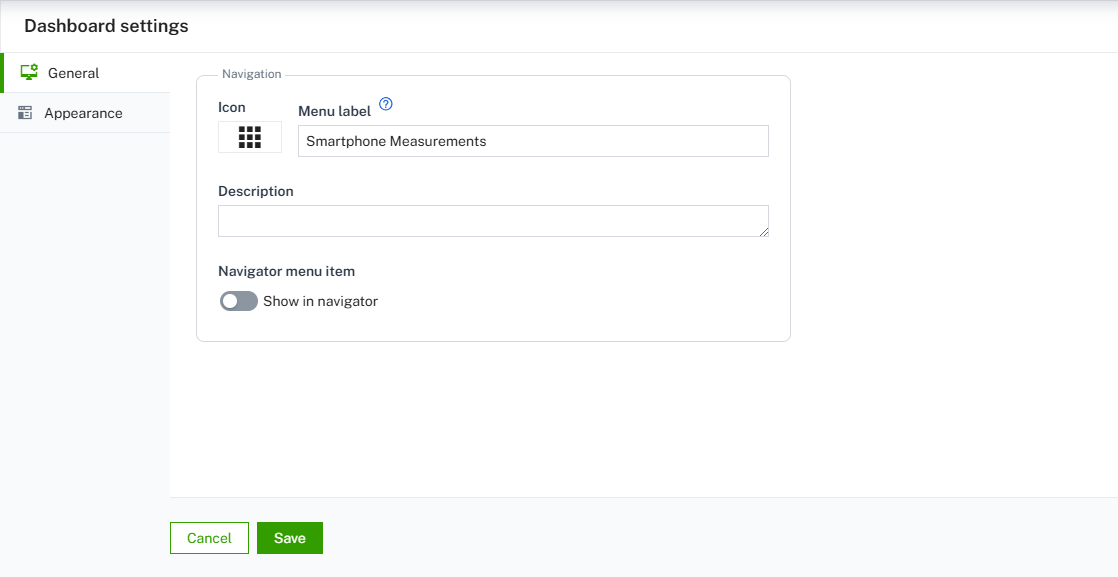
In the Dashboard settings, provide the following information:
- In the General section, change the menu label to “Phone SensorTag Dashboard”.
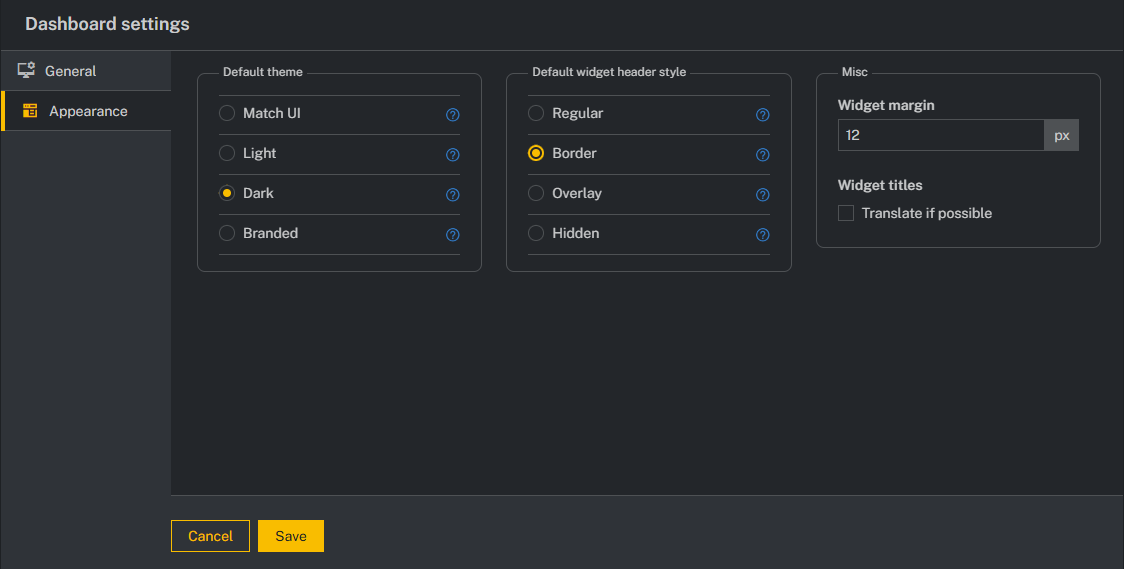
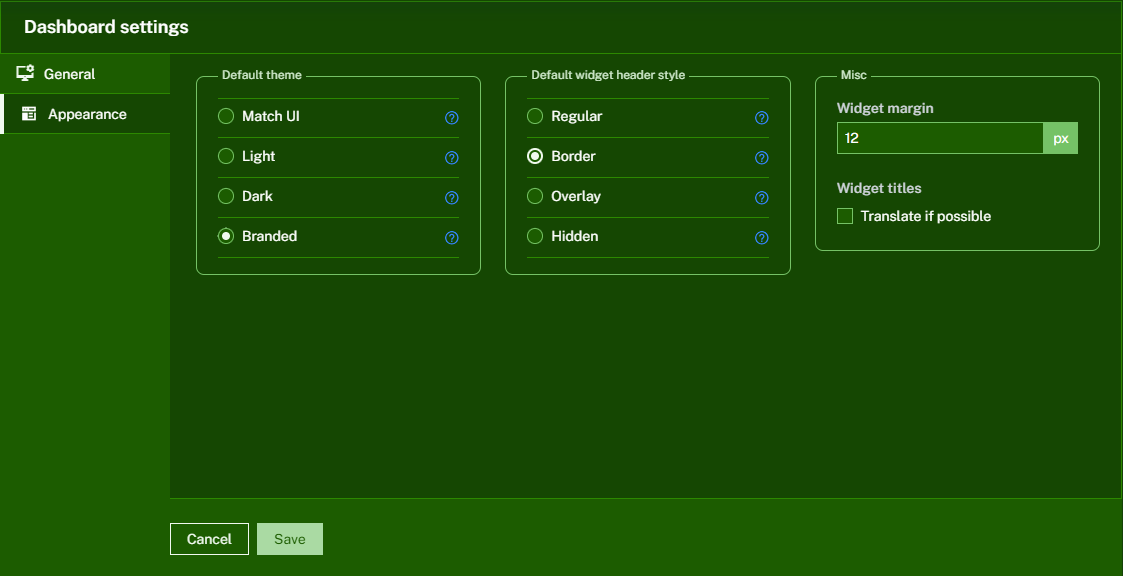
- In the Appearance section, change the theme to “Dark” and set the header style to “Border”. The changes will be reflected immediately after selection.
- In the General section, change the menu label to “Phone SensorTag Dashboard”.
-
Click Save to confirm and apply the modifications.
You have successfully customized your first dashboard.
See Working with dashboards for more details on how to create, share, edit, copy, and delete dashboards.
Next, we will show you how to create a report to track data.
Step 5: Create a report
Reports enable you to track applications, alarms, assets, and other data in a dashboard layout. Reports are global dashboard pages, regardless of the asset hierarchy. To work with reports, check if you meet the requirements first.
To create a report click Reports in the Navigator on the left side and follow the steps below.
Creating a report
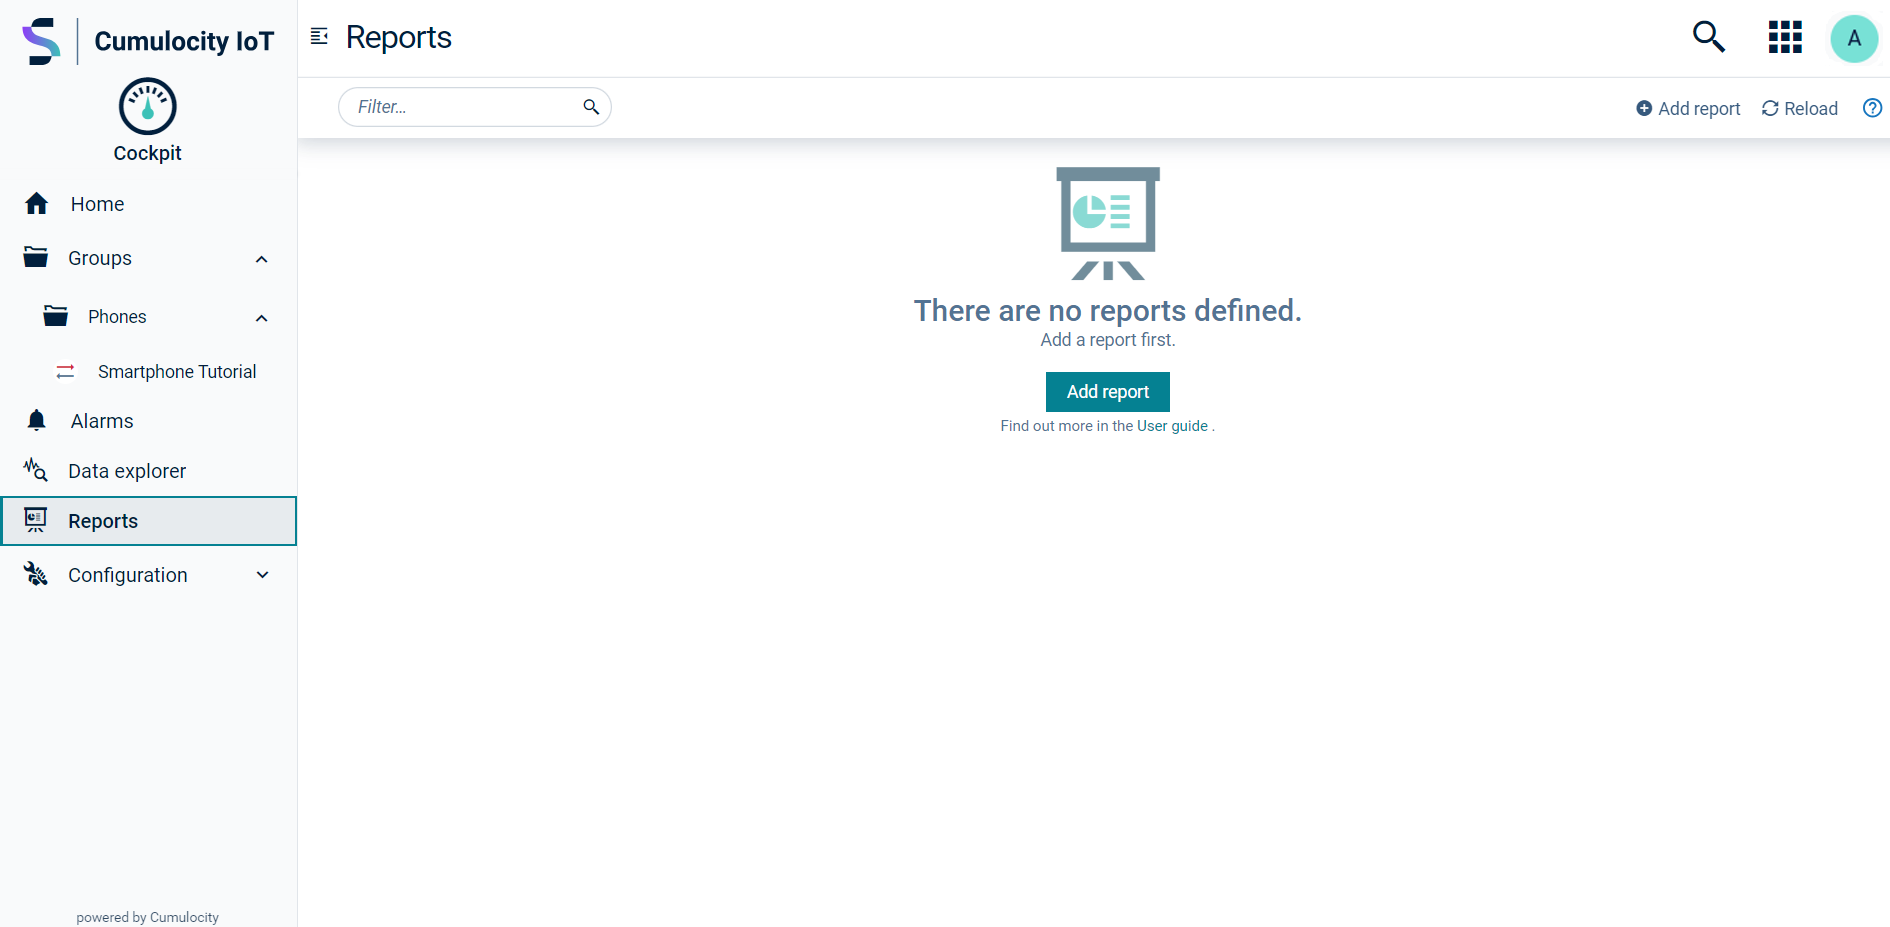
- Click the Add report button to open the Add report dialog window.
- In the General section of the Dashboard settings, enter a name for the report in the Menu label field. For this tutorial name the report “Smartphone Measurements” and optionally provide a description below. You can display the report in the navigator with the option Show in navigator but we will leave that unchecked in this tutorial.
- In the Appearance section, change the theme to “Branded” and set the header style to “Border”. The changes will be reflected immediately after selection.
- Click Save to create the report and add it to the report list.
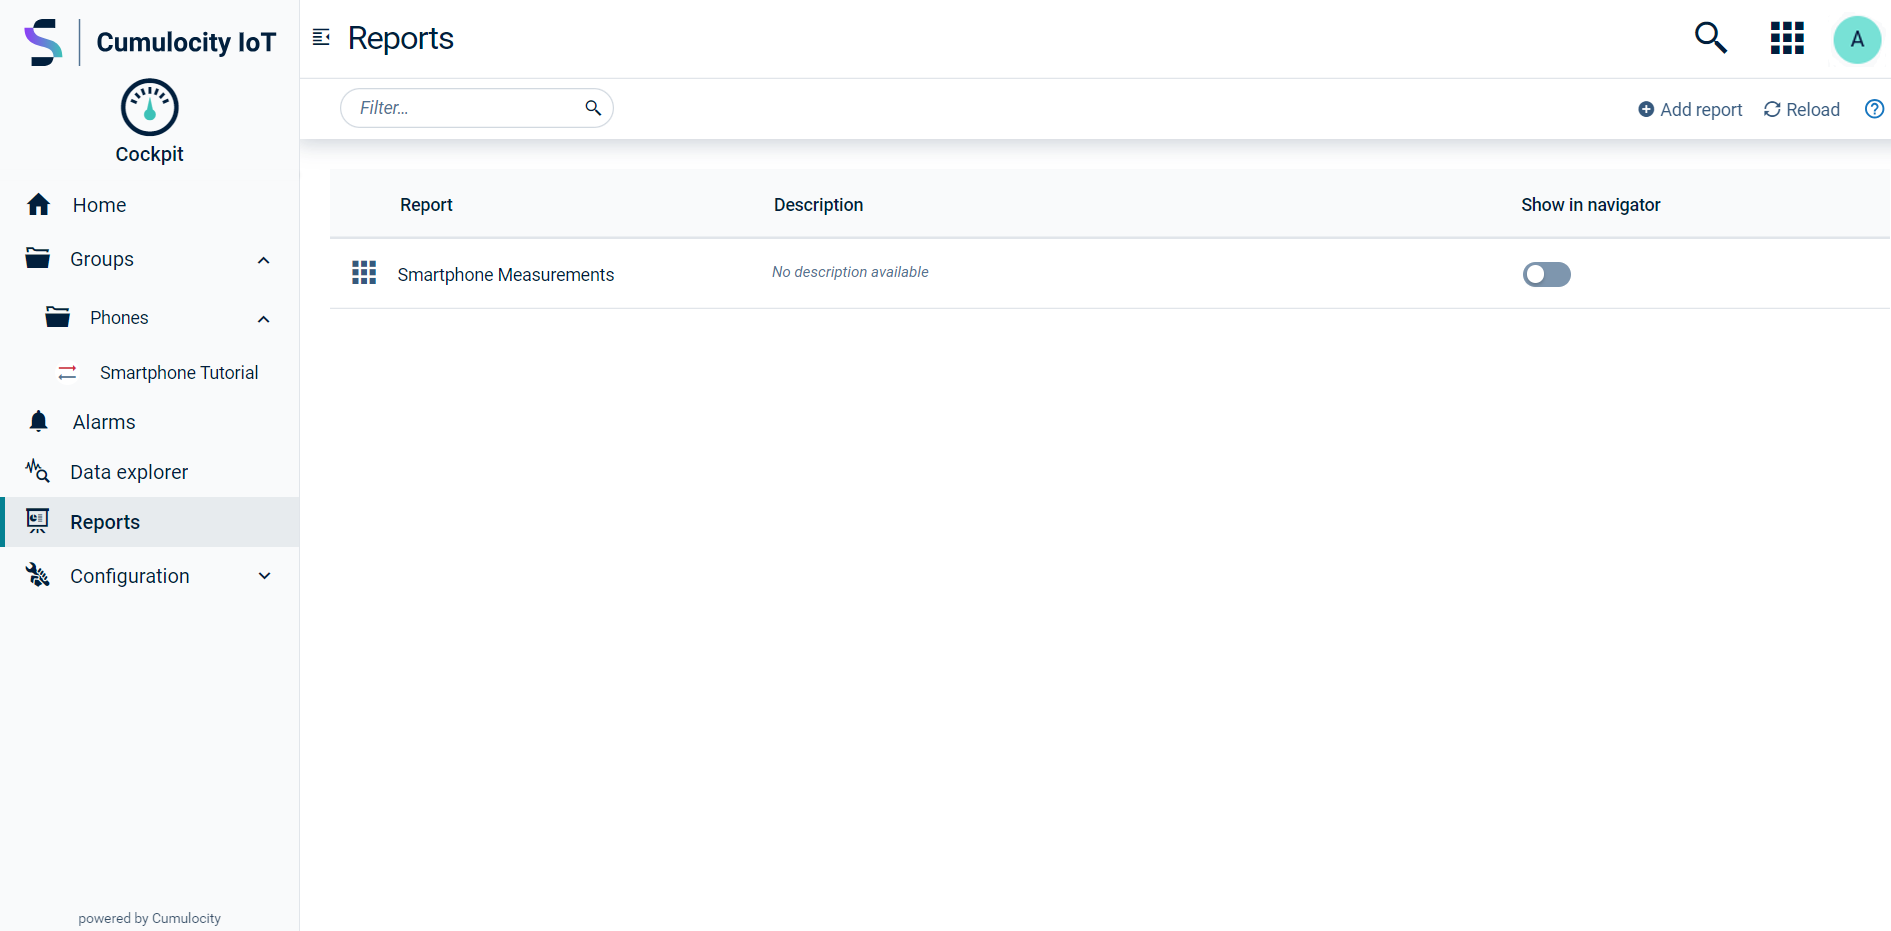
You have successfully created a report. See Working with reports for more details on how to add, edit and delete reports.
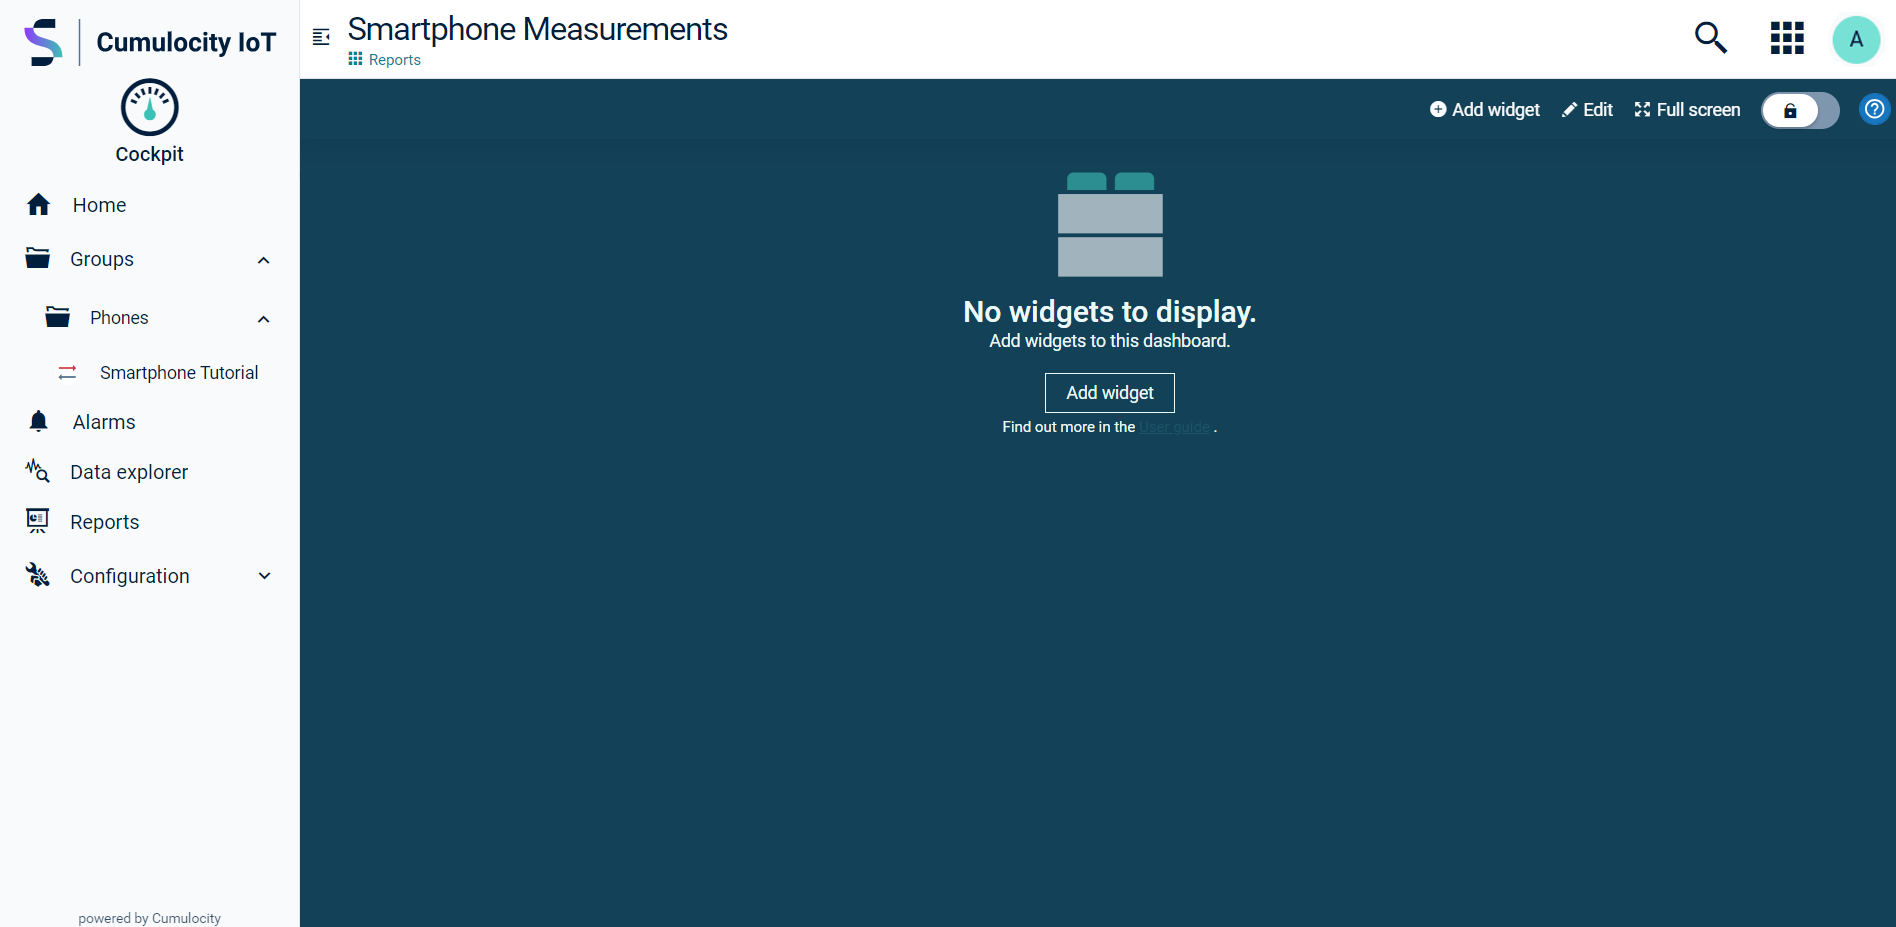
Next, we will add a widget to the report.
Step 6: Add a widget to a report
Widgets can display maps, images, graphs, tables and other graphic representations of data. Widgets are useful to track information, for example on alarms, assets or applications, or provide maps, quick links and more in dashboards or reports. Go to Widgets collection to see a list of all preset widgets that Cumulocity provides.
To add a widget to a dashboard or a report
-
Click the Add widget button on the main page of the report you have created in the previous step, or click Add widget in the top menu bar.
-
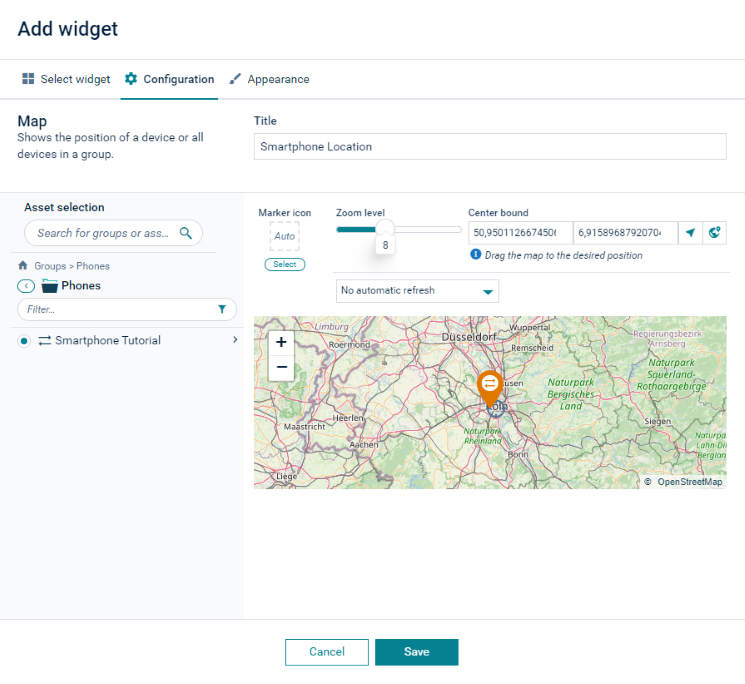
In the Add widget dialog, select the Map widget type.
-
Next, configure the widget. In the Asset selection section, select the Phones group and next select the device that was registered in a previous step “Smartphone Tutorial”. Give it the Title “Smartphone Location” and set the Zoom level to 8.
-
In the Appearence tab, set the Theme to “Light”.
-
Click Save to add the widget to the report.
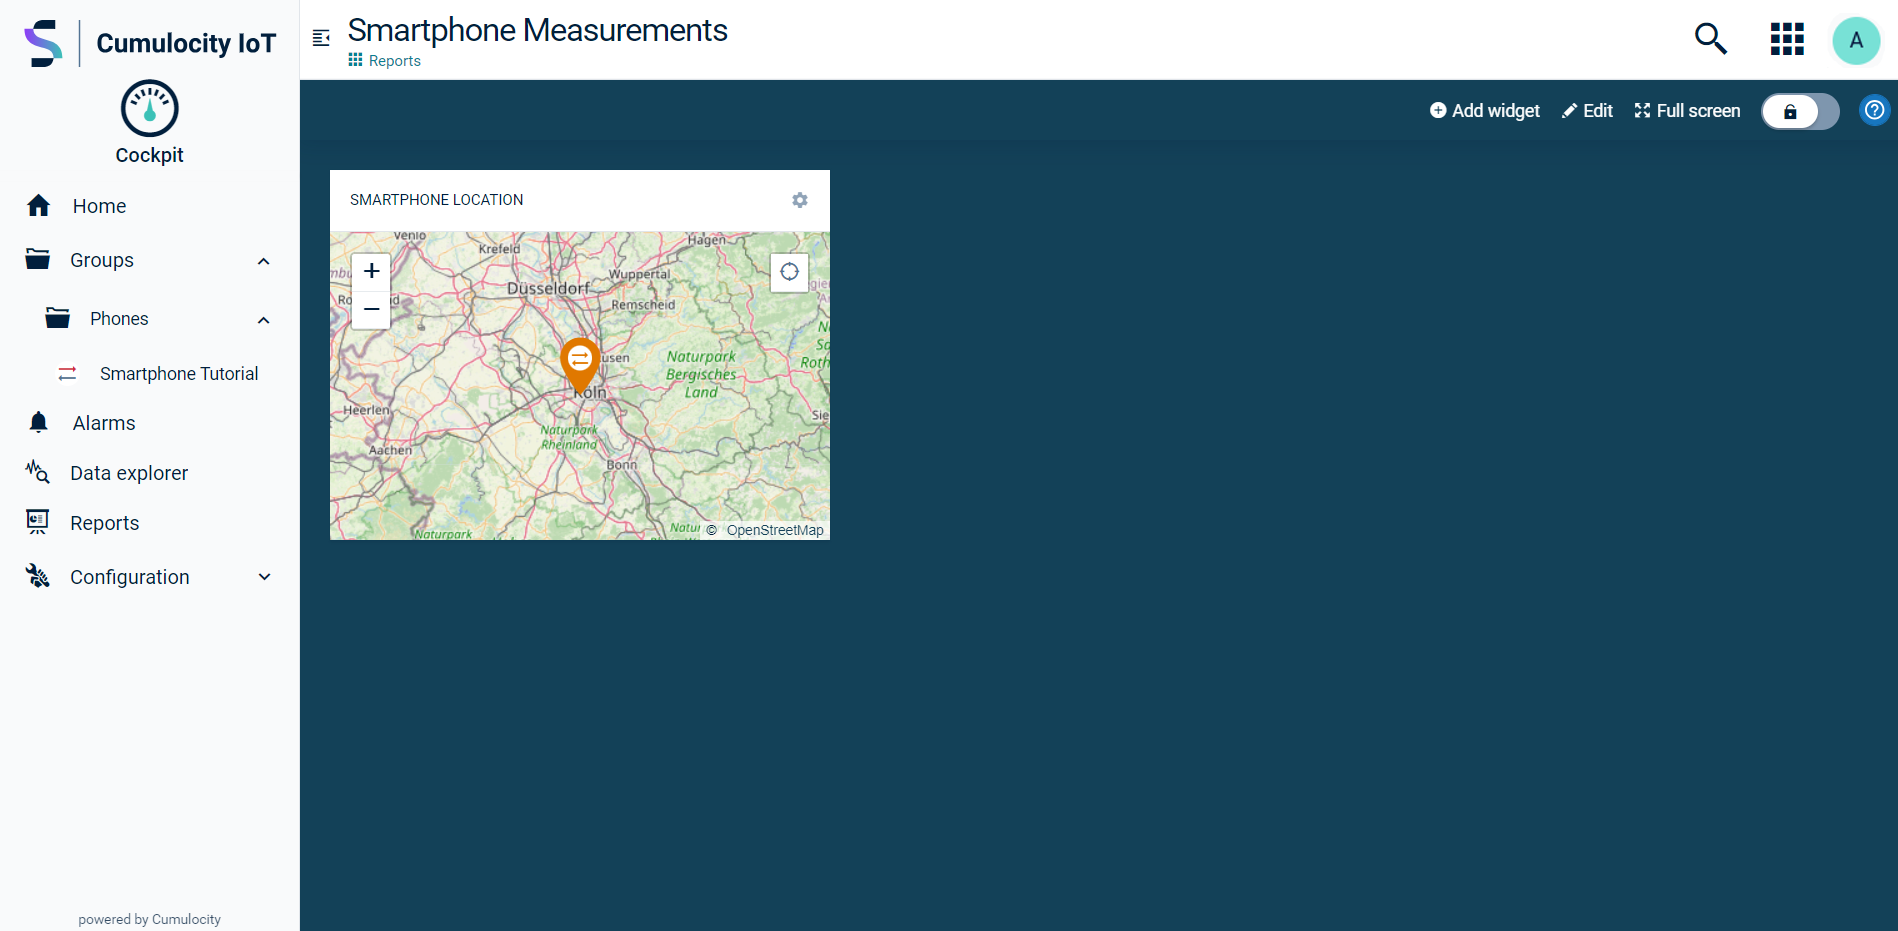
You have added a map widget to your report. Similarly, you can add widgets to dashboards.
For more details on adding widgets on dashboards or reports see Using widgets in dashboards and reports.