Edge can be installed using one of two supported methods. The method you choose depends on whether you already have a Kubernetes environment or would like the tool to provision one for you.
Installing with the c8yedge tool (Recommended for first-time or simplified setups)
This method is ideal if you do not already have a Kubernetes cluster and want a simplified, self-contained setup.
The c8yedge command-line tool automates the entire process of preparing the environment and installing Edge.
This is the recommended method for users who want a quick, consistent setup experience with minimal Kubernetes knowledge.
Installing on a self-managed Kubernetes cluster
This method is suitable for users who already have a Kubernetes cluster and want to install Edge using existing Kubernetes tools. Even a single-node Kubernetes cluster will suffice, but is not required.
In this case, you are expected to:
Set up and manage the Kubernetes cluster yourself (using K3s or any compatible Kubernetes distribution).
Deploy the Edge operator using Helm.
Install Edge by creating and applying the Edge custom resource (CR)
Choose this method if you want more control over the environment or if your organization already has Kubernetes expertise and infrastructure in place.
Prerequisites
Item
Details
Hardware
CPU: 6 cores RAM: 10 GB CPU Architecture: x86-64
Cumulocity Messaging Service An additional 2 CPU cores and 4 GB RAM are required when enabled.
Cumulocity DataHub An additional 10 CPU cores (or 6 at minimum) and 16 GB RAM (or 10 GB at minimum) are required when enabled.
Info: These are the minimum system requirements for deploying Edge. If a custom microservice requires additional resources, you must allocate them on top of the minimum requirements. For example, if a microservice needs 2 CPU cores and 4 GB RAM, the Kubernetes node must have an additional 2 CPU cores and 4 GB RAM.
Important: MongoDB requires a CPU that supports AVX instructions. Ensure that the CPU type of the Kubernetes node supports AVX instructions. Use the command lscpu to check whether the CPU supports AVX instructions. AVX2 instructions are not required.
Disk space
100 GB
Cumulocity Messaging Service An additional 15 GB is required when enabled.
Cumulocity DataHub An additional 100 GB is required when enabled
Most of this disk space will be consumed as Kubernetes Persistent Volumes, whose nature depends on which Kubernetes distribution you are using and the storage classes you have configured. If you are using the c8yedge tool, this space will be consumed under the directory /var/lib/rancher/. However, DataHub’s data lake contents will or should be written to a NAS location of your choice.
Edge license file
To request the license file for Edge, contact product support In the email, you must include
- Your company name, under which the license has been bought
- The domain name (for example, myown.iot.com), where Edge will be reachable
You will receive the Edge registry credentials along with the Edge license.
TLS/SSL key and certificates
Optional. TLS/SSL private key and domain certificates in PEM format. Generate a TLS/SSL key pair and a Certificate Signing Request (CSR) following your organization’s policies, specifying either a wildcard domain in the Common Name (CN) (for example, *.iot.com) or listing required domains in the Subject Alternative Name (SAN) field, including the Edge tenant, Management tenant, and, if applicable, Cumulocity DataHub domains (for example, myown.iot.com, management-myown.iot.com, datahub-myown.iot.com). Additionally, verify that the TLS/SSL certificate includes the complete certificate chain in the correct order.
Connect Edge to the cloud
Optional. To connect and manage one or more Edge deployments from your Cumulocity cloud tenant, you will need an active Cumulocity Standard tenant with a subscription plan that includes the advanced-software-mgmt microservice.
Domain name validation for Edge license key generation
To procure the Edge license, you must provide the right domain name to product support for Edge license key generation.
When you provide the domain name, consider the following points:
The domain name does not need to be a Fully Qualified Domain Name (FQDN). For example, to access Edge with the domain name myown.iot.com, request the Edge license for myown.iot.com or iot.com (without the subdomain myown).
If you exclude the subdomain from the domain name in the Edge license, you must possess a wildcard SSL certificate which can be used with multiple subdomains (myown or others) of the domain (iot.com).
For example, if you provide iot.com as the domain name, you must possess an SSL certificate for .iot.com.
If you have an Internationalized Domain Name (IDN), then you must provide the translated ASCII equivalent domain name.
For example, if your domain name is myown.iöt.com (for example, containing ö), then you must use myown.xn–it-fka.com. Also, provide the same translated ASCII equivalent domain name as the tenant domain name during the Edge installation process.
Info
An Internationalized Domain Name (IDN) is an internet domain name that contains at least one label, in whole or in part, in a language-specific script or alphabet, such as Arabic, Chinese, Cyrillic, Devanagari, Hebrew or the Latin alphabet-based characters with diacritics or ligatures, such as French. The internationalization of domain names is a technical solution to translate names written in language-native scripts into an ASCII text representation that is compatible with the Domain Name System. See Wikipedia.
Ensure that you adhere to the following domain name validation rules:
The domain name must be a combination of case-insensitive alphanumeric characters separated by dot ( . ) or hyphen ( - ).
Cannot contain any letters of languages like Chinese, Latin or Arabic.
Cannot contain any special characters like (+ , ! @ # $ % ^ & * ( ) ; \ \ / | < > \ " \ ’ ) other than dot ( . ) or hyphen ( - ).
The length of the domain name including the dot must not exceed 255 characters.
The domain name must contain at least one dot.
Each segment of the domain name must be separated by a dot.
The domain name must be between 1 to 63 characters long.
The Top-Level Domain (TLD) which refers to the last segment of the domain name must be between two to six characters long.
The domain name cannot begin or end with a hyphen.
Installing with the c8yedge tool
This method is ideal if you do not already have a Kubernetes cluster and want a simplified, self-contained setup. The c8yedge command-line tool automates the entire process of preparing the environment and installing Edge on a Linux environment.
Configuring the environment
Edge can be installed on any modern x86-64 Linux environment, virtualised or otherwise.
First, choose your environment. It can be a physical machine, or it can be a virtual machine (VM), using the technology of your choice. For example, VMWare Workstation Player, VMWare ESXi or HyperV. Create a VM, referring to the documentation from your VM technology vendor as necessary.
Whether a VM or physical machine, ensure that all hardware and storage requirements for Edge are met, based on prerequisites.
Although the virtual or physical nature of the platform is unimportant to Edge, the advantage of most VM technologies is that a running image can be exported to be run in another environment without further configuration.
For example, you could install and customize Edge on a VM in your development environment. You can then then hand-off a self-contained VM image to be installed at a remote site in a reliable and reproducable way.
Upon successful installation, the tool will exit automatically.
To sign in to Edge, refer to the instructions at the start of the Accessing Edge section. You can later update the domain and license to match your environment by following the steps outlined in Modifying Edge.
Install Edge in an airgapped environment
If you are installing Edge on an environment that has no or limited internet access, you will have to use the c8yedge tool to create an offline package first. This has to be executed in an environment with internet access. Execute the following command and follow the interactive prompts:
c8yedge package
The tool generates a tarball suffixed with the specific version of Edge downloaded (for example, c8yedge-2025_0_0.tar). By default, this file is created in your current directory and contains the latest release of Edge 2025. You can discover more options with c8yedge package --help, such as the ability to package a very specific version.
The offline package can be used for either an initial installation, or an upgrade of an existing installation. You need to transfer this file, as well as the c8yedge tool, into your airgapped environment.
The c8yedge tool installs Lightweight Kubernetes (K3s), which has prerequisites for running in an airgapped environment. If your environment has no network interface with a default route, or SELinux is enabled, pay attention to and follow the two relevant sections under Prerequisites.
Once in the airgapped environment, run the installation command referencing the offline package file the tool generated earlier:
# Replace <OFFLINE-PACKAGE-FILENAME> with the path to the generated offline package filesudo c8yedge install -s "<OFFLINE-PACKAGE-FILENAME>"
Installing on a self-managed Kubernetes cluster
This method is suitable for users who already have a Kubernetes cluster and want to install Edge using existing Kubernetes tools. Before you start the installation, ensure that you have met the prerequisites.
You will need Helm version 3.x available on your system. Refer to Installing Helm for the installation instructions.
Info
Edge has been tested and officially supported on Kubernetes version 1.32.x, the latest GA version at the time of release. Support is limited to this version. We aim to support deployments on CNCF-certified Kubernetes distributions provided they use upstream Kubernetes version 1.32.x and meet the documented resource and environment prerequisites. We are committed to maintaining alignment with the Kubernetes support lifecycle and will validate and support newer versions in future maintenance releases, ensuring continuity when version 1.32.x reaches end-of-life.
Important:
Edge requires that your Kubernetes cluster has support for LoadBalancer services.
Edge requires that your Kubernetes cluster does not have an Ingress provider (for example, Traefik) enabled on common ports that would block those used by Edge, such as ports 80 and 443.
Edge requires that your Kubernetes cluster has dynamic volume provisioning enabled with a default storage class.
Edge is tested and supported on single-node Kubernetes clusters only.
Installing the Edge operator
The Edge operator is available as a Helm chart in the Edge registry, and can be installed like any other chart. You will need your registry credentials, which can be acquired from product support. Assuming you are installing the 2025 release of Edge, and that you wish all Edge workloads to be running in the namespace c8yedge, run the following command:
If you are installing Edge on an environment that has no or limited internet access, we strongly recommend using the c8yedge tool for installing and upgrading Edge.
If you have to use existing Kubernetes infrastructure, then using the c8yedge tool will not be possible and you will have to provide a private registry and configure Edge to use it. See Configuring Edge to use a private registry. After following those steps, you will need to modify the above command to use this new private registry.
Change oci://registry.c8y.io/... in the above command line to oci://<registry-hostname>:<registry-port>/...
Use whatever user name and password you have configured for the private registry, not the Edge registry credentials.
Provide an additional argument --set imageCredentials.registry=<registry-hostname>:<registry-port>
Provide an additional argument --set image.repository=<registry-hostname>:<registry-port>/edge/helm-charts/cumulocity-iot-edge-operator
Run the following command to follow the logs for the Edge operator pod:
Download and edit the Edge CR (c8yedge.yaml), before applying it to your Kubernetes cluster by running the command below:
kubectl apply -f c8yedge.yaml
This command will complete immediately, and the installation will proceed in the background. See Monitoring changes to track the progress of the installation.
For more information about the structure and configuration options available in the Edge CR, see Edge custom resource.
Configuring proxy
When Cumulocity Edge is deployed behind a proxy, it must be configured to communicate with external endpoints over the internet through the proxy server.
To configure Edge to use a proxy, you must create or update a ConfigMap named custom-environment-variables in the c8yedge namespace (or the one you deployed Edge into) with the required proxy settings. The keys http_proxy, https_proxy and socks_proxy must be set to the URLs of the HTTP, HTTPS and Socks proxies, respectively. The key no_proxy must be set to specify a comma-separated list of domain suffixes, IP addresses, or CIDR ranges that Edge should bypass the proxy server for.
Here is an example of a ConfigMap with proxy settings:
#### An optional ConfigMap to configure the Edge operator with## - Proxy details when accessing external endpoints through a Proxy## - TLS/SSL certificates to trust#### http_proxy, https_proxy and optionally socks_proxy must be configured with the relevant URLs.## no_proxy must be configured with a comma-separated list of addresses or domains for which the proxy should be bypassed.##apiVersion: v1
kind: ConfigMap
metadata:
## The name is fixed and cannot be changed.name: custom-environment-variables
## Namespace name into which you installed the Edge operator.namespace: c8yedge
data:
http_proxy: <HTTP Proxy URL>
https_proxy: <HTTPS Proxy URL>
socks_proxy: <SOCKS Proxy URL>
## A comma-separated list of addresses or domains for which the proxy will be bypassed.## This must be configured with the specified entries, Edge domain name, Kubernetes Pod CIDR (Cluster Pod IP Address Range), ## Kubernetes Service CIDR (Cluster Service IP Address Range) and any other domains, hosts or IPs ## you want to bypass the proxy when accessed.no_proxy: 127.0.0.1,::1,localhost,.svc,.cluster.local,cumulocity,<edge domain name, for example, myown.iot.com>,<kubernetes cluster IP range, for example, 10.43.0.0/16>
## TLS/SSL certificates in PEM format that the Edge operator can trust, in addition to those included in the default system trust store.## You can provide multiple TLS/SSL certificates for trust by combining them into a single string.ca.crt: <CA-CERTIFICATES TO TRUST>
By configuring Edge with the appropriate proxy settings, you ensure that it can seamlessly communicate with external endpoints through the proxy server, allowing it to function effectively in environments where proxy usage is mandated.
The table below provides more information:
Field
Required
Type
Default
Description
http_proxy
No
String
Specifies the URL of the HTTP proxy to be used for network connections.
https_proxy
No
String
Specifies the URL of the HTTPS proxy to be used for secure network connections.
socks_proxy
No
String
Specifies the URL of a SOCKS proxy.
no_proxy
No
String
Specifies a comma-separated list of addresses or domains for which the proxy will be bypassed. This is configured with the specified entries, Edge domain name, Kubernetes Pod CIDR (Cluster Pod IP Address Range), Kubernetes Service CIDR (Cluster Service IP Address Range) and any other domains, hosts or IPs you want to bypass the proxy when accessed.
ca.crt
No
String
TLS/SSL certificates in PEM format that the Edge operator can trust, in addition to those included in the default system trust store. You can provide multiple TLS/SSL certificates for trust by combining them into a single string.
Accessing Edge
If you have installed Edge on your local machine, then you should be able to immediately access Edge in your browser with the URL http://localhost. If it is on a remote machine or a VM with a simple network setup and no firewall in the way, you can use http://<IP of remote machine or VM>.
Info
If you have performed the install on a self-managed Kubernetes cluster rather than installing with the c8yedge tool, it is sometimes the case that Edge is not accessible via either URL. This depends on the Kubernetes distribution you have used. See Accessing Edge via an external IP.
When signing into Edge this way, you will first be prompted for the Cumulocity tenant ID. Edge has two tenants, management and edge. For both the Management tenant and the Edge tenant, use the following credentials:
Username:admin
Password: Use the password you provided during the Edge installation. This password was set either via the c8yedge tool’s --cumulocity-password flag or through the Kubernetes Secret specified in the Edge CR field spec.cumulocityPasswordSecretName.
Accessing Edge using the domain name
Info
This is an optional part of setup. Although essential to have a specific domain name for both the license and the Edge configuration, having Edge accessible by domain name in your browser is not.
It may be important for a better user experience, if Edge is to be regularly accessed without a need to remember IP addresses. It is essential if you wish to have secure SSL access to Edge.
Access Edge using the domain name configured as part of the installation. There are two ways of configuring the accessibility with the domain names:
Add an entry of the domain name and IP address mapping in the DNS servers.
For example, if your domain name is myown.iot.com, add an entry for both myown.iot.com and management-myown.iot.com.
Alternatively, Add the alias to access Edge through the domain name provided during installation. This must be performed on each client host on which Edge is accessed.
The first option is always preferable so that Edge is accessible over LAN.
Adding the alias
On Linux machines, add the following entry to /etc/hosts:
On Windows machines, add the same entry to C:\Windows\System32\drivers\etc\hosts.
Ping the <domain_name> to verify it.
ping <domain_name>
ping management-<domain_name>
If the ping is successful, the DNS resolution is working properly.
To access Edge
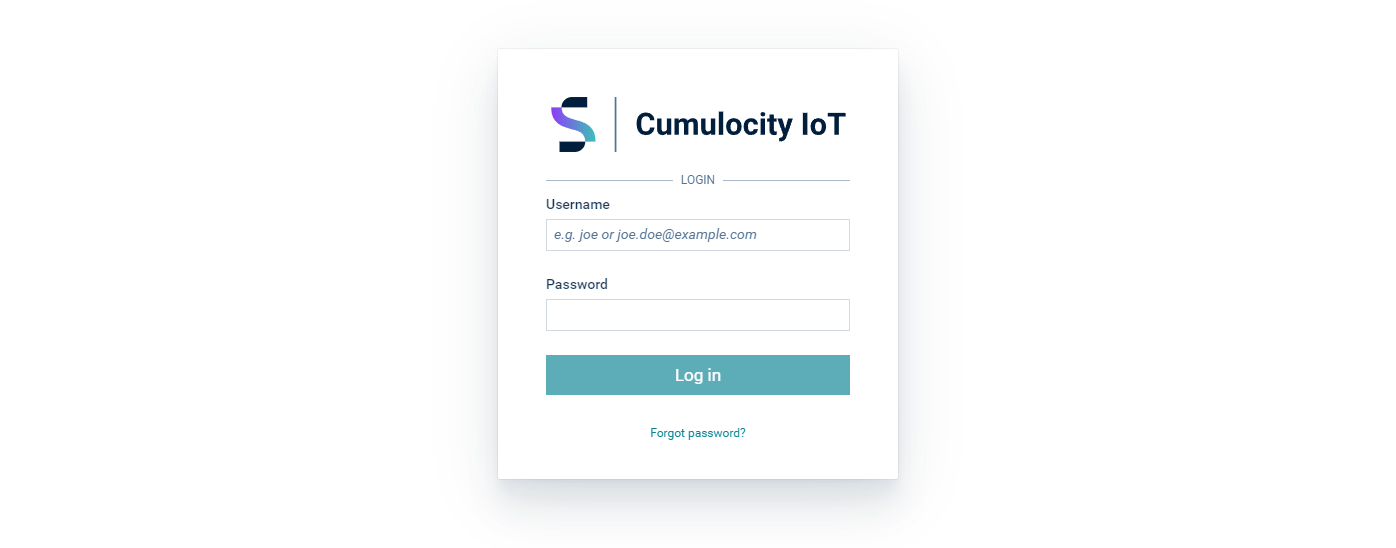
To access Edge, enter one of the following URLs in the browser:
For the “edge” tenant, use the URL https://<domain_name>.
For the Management tenant, use the URL https://management-<domain_name>.
This will bring up the below login screen. For both the Management tenant and the Edge tenant, use the following credentials:
Username:admin
Password: Use the password you provided during the Edge installation. This password was set either via the c8yedge tool’s --cumulocity-password flag or through the Kubernetes Secret specified in the Edge CR field spec.cumulocityPasswordSecretName.
Info
You can change the Management tenant and the Edge tenant admin password independently using the user interface or the Cumulocity API.
If you are logging in for the first time, you will see a cookie banner at the bottom of the login screen:
Info
The cookie banner is turned on by default. This feature can be configured. For more information, see Branding.
Click Agree and Proceed to accept the default cookie settings (required and functional cookies enabled).
Click Reject all to reject all of the default cookie settings.
Click Preferences to select your individual cookie preferences:
Required - Required to enable core site functionality. They perform a task or operation without which a site’s functionality would not be possible. Required cookies cannot be disabled.
Functional - Used to track site usage and to process personal data to measure and improve usability and performance. Functional cookies must be actively enabled.
Click See also our Privacy Notice to open the Cumulocity privacy statement with details on the Cumulocity privacy policy.
Info
If you have enabled functional cookies you can opt out of the product experience tracking later on via the User settings dialog, see User options and settings.
Select the Remember me checkbox if you want the browser to remember your credentials, so that you do not have to enter them again when opening the application the next time. This is especially convenient if you frequently switch between Cumulocity applications, as Edge requests you to authenticate each time when starting an application. You can make the browser “forget” your credentials by explicitly logging out.
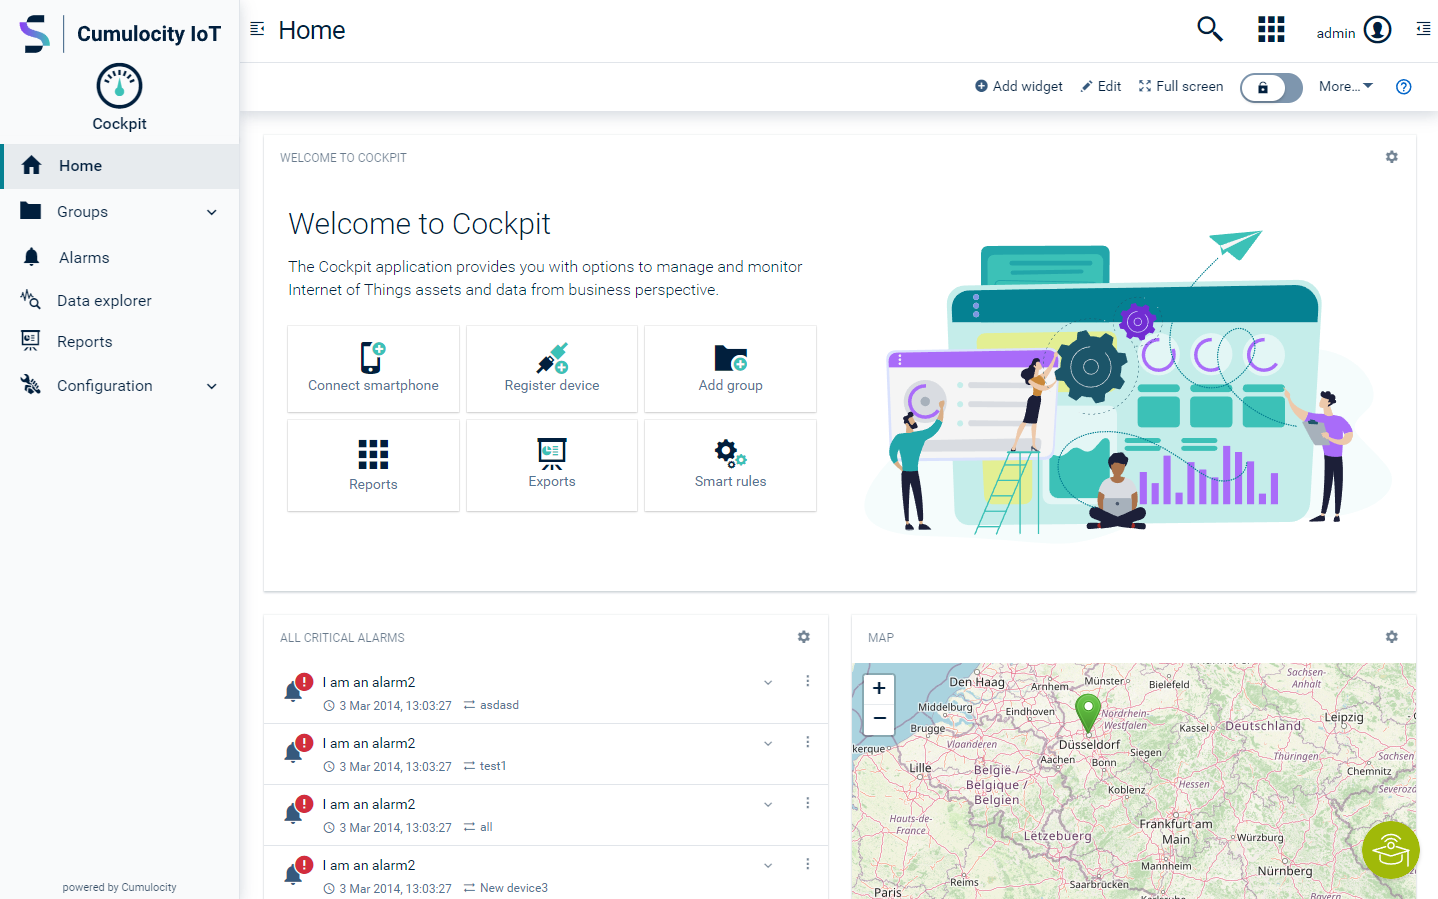
Finally, click Login to enter Edge. Initially, you will be taken to the Cockpit application, if not configured differently. For further information about the Cumulocity standard applications see Available applications.
To explicitly log out, click the User button at the right of the top bar, then select Logout from the context menu.
Info
The maximum number of failed logins (due to invalid credentials), after which a user is locked, can be configured by the Management tenant on platform level. Contact your Operations team for further support. The default value is 100.
How to reset or change your password
To reset your password, you must first configure the “reset password” template and email server settings in Edge. For information about configuring the email server, see Configuring the email server.