Changing settings
From the Settings menu, administrators can manage various settings for the account:
- Change the application settings.
- Manage the properties library.
- Provide SMS provider credentials.
- Manage the connectivity settings.
From the Settings menu, administrators can manage various settings for the account:
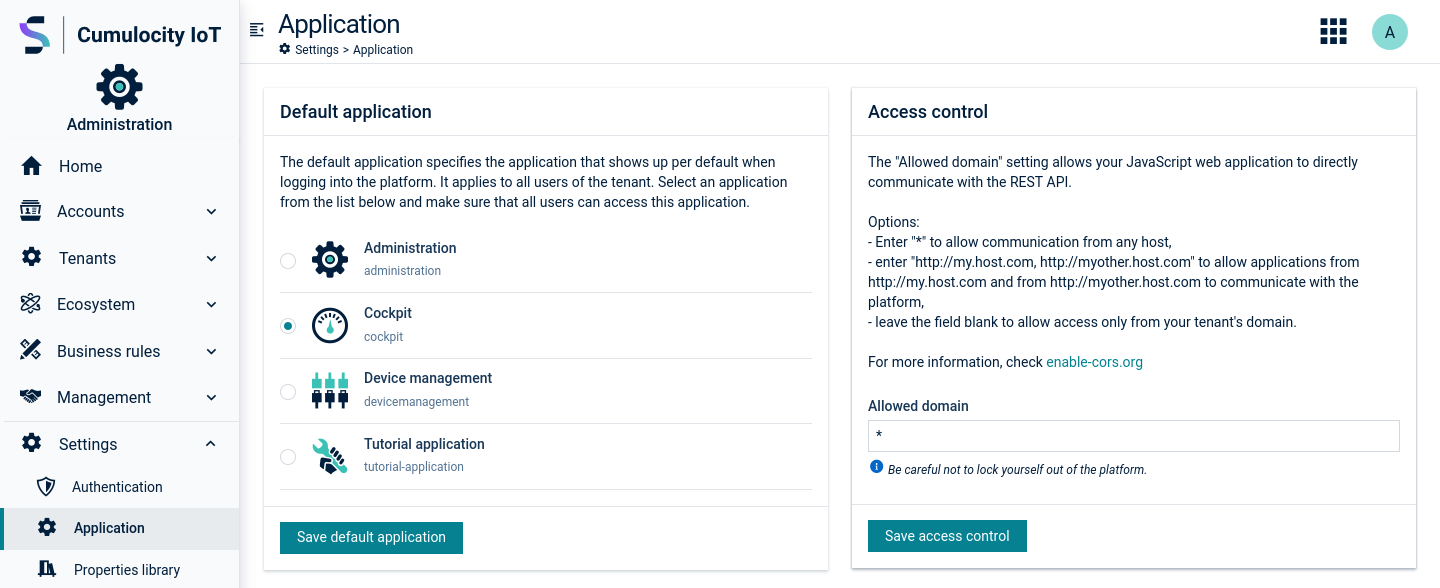
Click Application in the Settings menu to change applications settings.

Under Default application, you can select a default application from the list which will apply to all users within the tenant. Whenever the platform is accessed, for example, by domain name only, without mentioning a specific application, the application selected as default application is used as default landing page.
Under Access control, administrators can enable cross-origin resource sharing or “CORS” on the Cumulocity API.
The Allowed Domain setting will enable your JavaScript web applications to directly communicate with REST APIs.
http://my.host.com, http://myother.host.com to allow applications from http://my.host.com and from http://myother.host.com to communicate with the platform.For further information, see http://enable-cors.org.
ROLES & PERMISSIONS:
Custom properties are visible to all authenticated users of the tenant, regardless of their inventory role permission.
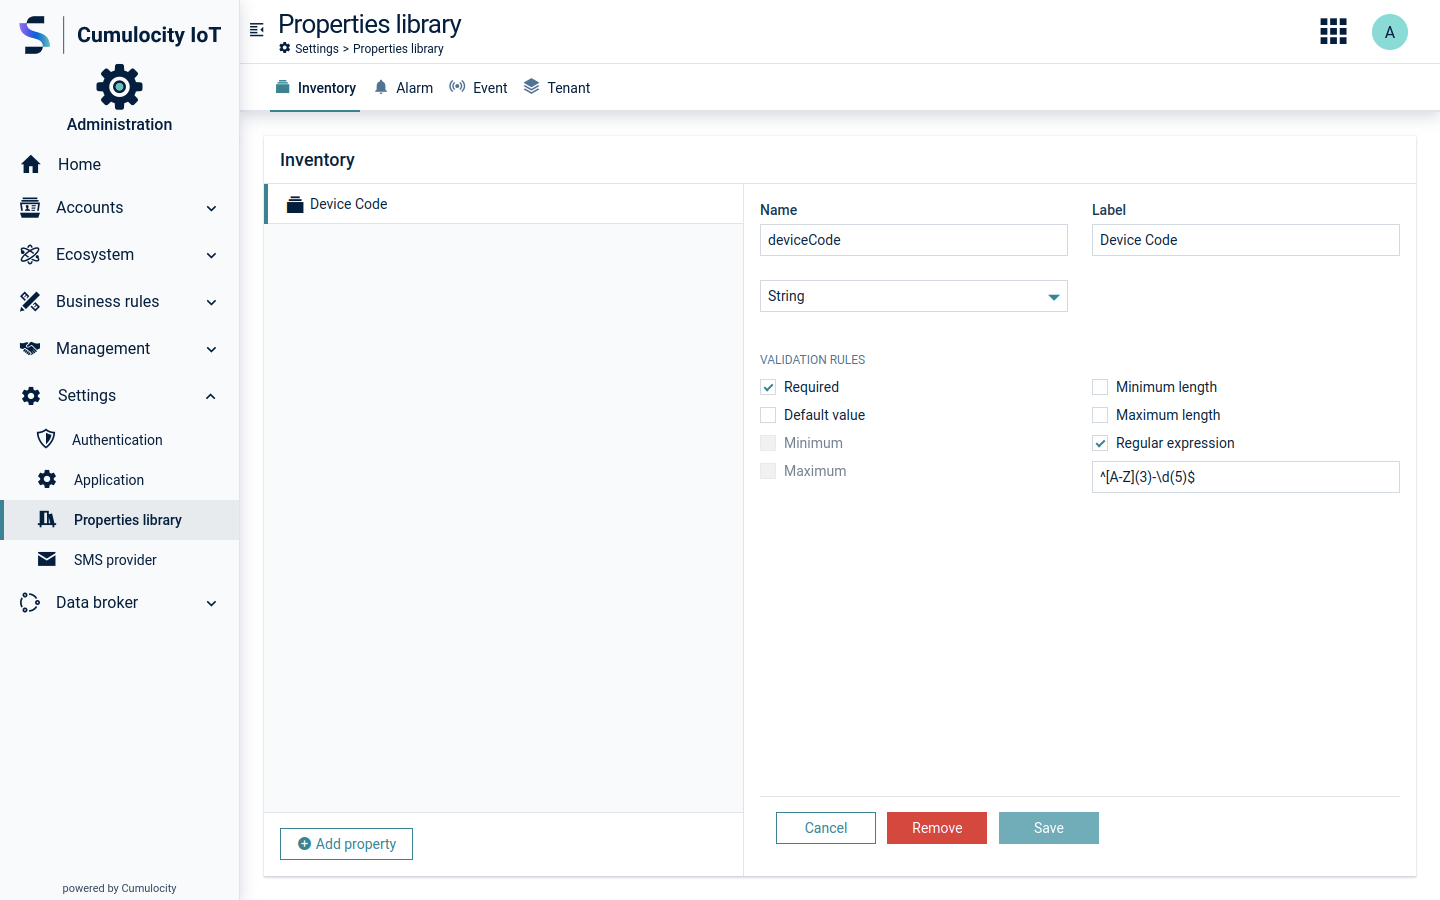
Click Properties library in the Settings menu, to add custom properties to inventory objects, alarms, events and tenants.

With custom properties, you can extend the data model of Cumulocity built-in objects. You may create the following custom values:
Select the tab for the desired property and click Add property.
In the resulting dialog box, provide a unique name as identifier and a label for the property and select its data type from the dropdown list.
Additionally, select validation rules for the new property:
| Checkbox | Description |
|---|---|
| Required | If selected, the property must be provided, for example, during alarm creation. Not available if the property type is "Boolean". |
| Default Value | Provide a default value to be automatically filled in the custom property field. Only available for properties with type "string". |
| Minimum | Enter a minimum integer value. |
| Maximum | Enter a maximum integer value. |
| Minimum length | Enter the minimum length required for the string. |
| Maximum length | Enter the maximum length required for the string. |
| Regular expression | Add a regular expression which will be required in order to fill the custom property field. |
ROLES & PERMISSIONS:
To view SMS provider configurations: READ permission for the permission type “SMS” To set or remove SMS provider configurations: ADMIN permission for the permission type “SMS”
SMS are used throughout the platform for various features like two-factor authentication and user notifications, for example, on alarms.
By providing your credentials you enable platform features that utilize SMS services.
Click SMS provider in the Settings menu.
In the SMS provider page, select one of the available SMS providers from the SMS provider dropdown field. You can start typing to filter items and more easily find your preferred provider.
In the resulting dialog, enter the required credentials and properties or specify optional settings, which differ depending on the provider you selected.
Click Save to save your settings.
In the Connectivity page, you can manage credentials for different providers. In order to add or replace credentials ADMIN permissions are required.
ROLES & PERMISSIONS:
The Connectivity menu item is only available if you are logged in to the Cumulocity platform as administrator and if you have READ or ADMIN permission for the permission type “Connectivity”.
To view connectivity settings: READ permission for the permission type “Connectivity” To set or remove connectivity provider configurations: ADMIN permission for the permission type “Connectivity”
The following provider settings may currently be specified:
Depending on the provider you have selected, there may be additional fields, which will be explained in the respective agent documentation, see Protocol integration.