Getting started
First install the Command Line Interface (CLI) which helps you with bootstrapping an application:
$ npm install -g @c8y/cli
Next, bootstrap a new blank application with the new command:
$ c8ycli new myApp
Info: When you want to see the possibilities and implementation details of the Web SDK you should try the tutorial application. You can install it by running
c8ycli new <<your-app-name>> tutorial.
Once the CLI installation is completed, change to the newly created folder and run npm install:
$ cd myapp
$ npm install
After all packages are installed you can start the application by running:
$ npm start
If you point your browser to http://localhost:9000/apps/myapp/ you will get a login screen which proxies to the tenant defined in the start script. If you cannot log in, it might be pointing to the wrong instance. To change the proxy to your tenant URL change the start script in the script section of the newly created package.json:
{
  "start": "c8ycli server -u http://your-tenant.my-provider.com"
}
After logging in you should see a barely empty starter application. If you want to start with a more complex example read the documentation about @c8y/apps. If you want to build and deploy your application read more about the necessary commands of the c8y command line tool.
Info: If you want to extend an existing application like Cockpit, you can spin up a hybrid application. This allows you to combine existing AngularJS plugins into the new Web SDK, see Migration.
Info: You need to provide your tenant name or the tenant ID on login (as the application cannot derive it from the URL on localhost). If you don’t know your tenant name or the tenant ID you can use the REST API to request it.
First route & component
After creating the empty bootstrapping application you might want to start with your first content. To do so, add a new component to your project and save it as hello.component.ts:
import { Component } from '@angular/core';

@Component({
  selector: 'app-hello',
  template: `
    <c8y-title>Hello World</c8y-title>
    <p>My first content.</p>
  `
})
export class HelloComponent {
  constructor() {}
}
To hook the new component into the application you need to declare the new component and add it to a route in the app.module.ts:
import { NgModule } from '@angular/core';
import { BrowserAnimationsModule } from '@angular/platform-browser/animations';
import { RouterModule as ngRouterModule } from '@angular/router';
import { CoreModule, BootstrapComponent, RouterModule } from '@c8y/ngx-components';
import { HelloComponent } from './hello.component'  // don't forget to import the new component

@NgModule({
  imports: [
    BrowserAnimationsModule,
    RouterModule.forRoot(),
    ngRouterModule.forRoot(
      [{ path: '', component: HelloComponent }], // hook the route here
      { enableTracing: false, useHash: true }
    ),
    CoreModule.forRoot()
  ],
  declarations: [HelloComponent], // add deceleration here
  bootstrap: [BootstrapComponent]
})
export class AppModule {}
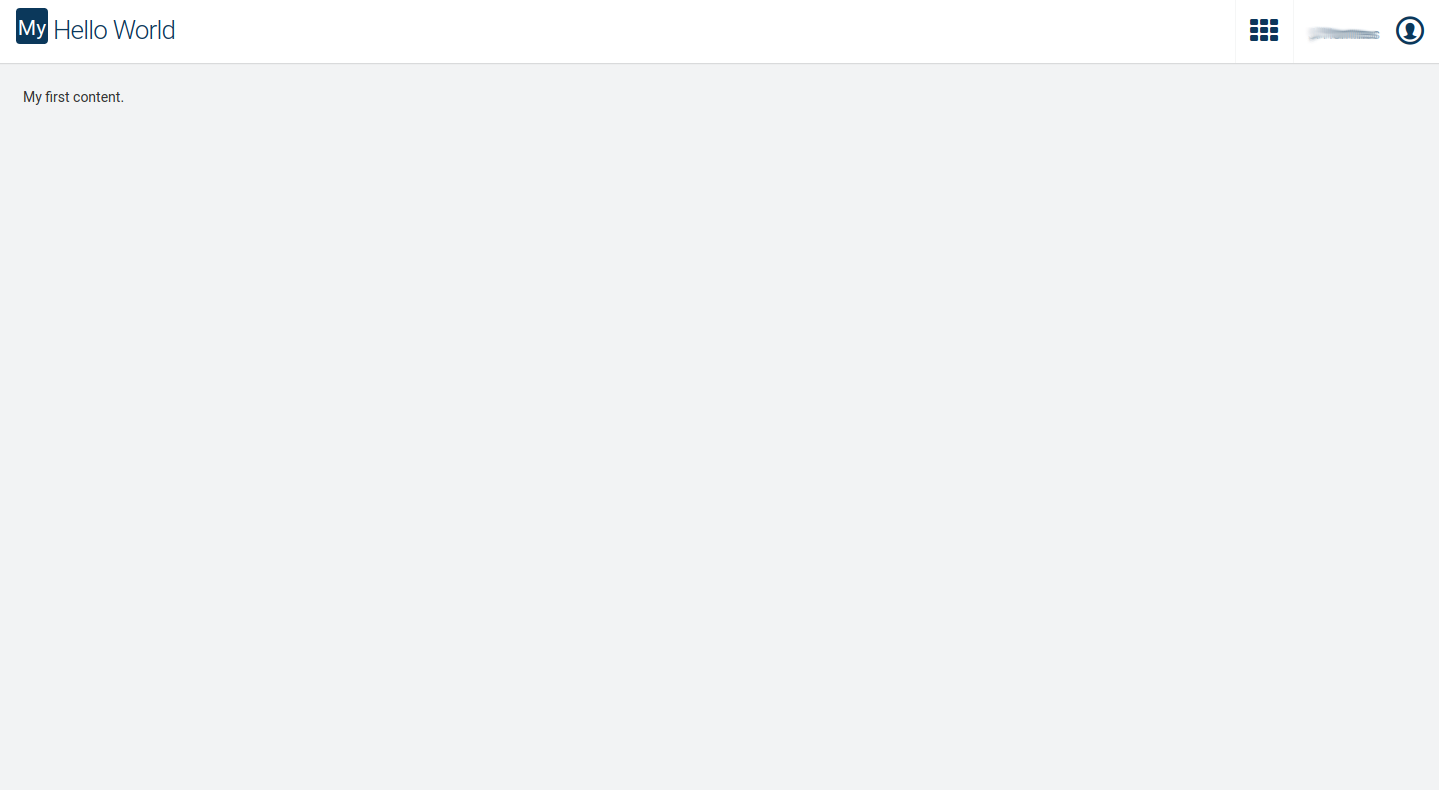
If you start this application and log in you will see an application similar to the following screenshot. To extend this application you can use the Angular Router in combination with our @c8y/ngx-components.