Localization
-
To view the Localization page: READ permission for permission type “Application management”
-
To add/update/delete localization identifiers: ADMIN permission for permission type “Application management”
-
Your user must have a role with READ permission for the permission type “Application management”. See Administration > Managing permissions in the User guide.
-
Your tenant must have the Public-options application installed, see details below.
To use the localization feature
Since the localization feature uses dynamically fetched application options, your tenant must have the Public-options application installed. Install the Public-options application manually or, as a workaround, apply the branding setting which installs the Public-options application behind the scenes.
For details on how to manually install the Public-options application, see Branding and language customization in the Web SDK guide.
To apply the branding setting
To apply the branding setting, you must first subscribe to the Branding feature in the Enterprise tenant.
Complete the setup in the Administration application following the steps below:
- Navigate to Settings > Branding.
- Click Apply.
- Navigate to Ecosystem > Applications to verify that the Public-options application is installed correctly.
Localization
To open the Localization page, navigate to Configuration > Localization.
If you want to add translations for the created asset properties or asset models, or if you want to add custom translations for the existing static text in the DTM application, use the Localization feature.

Once you create an asset property or an asset model, their names are added automatically as keys in the Localization page. You can further add the translations as required.
Note that if an asset property or asset model is present, the corresponding entry on the Localization page cannot be deleted. However, if no translation exists for the asset property or asset model, deleting the asset property or asset model will automatically remove the corresponding entry.
On the other hand, if a translation exists for the asset property or asset model, deleting it will not automatically remove the corresponding entry. In such cases, a delete option will be available for that specific translation, allowing you to manually delete the entry.
To add a new translation in the DTM application, you can add the text as key and add the translations as required.
Click Apply to apply the changes.
To add new keys for translations
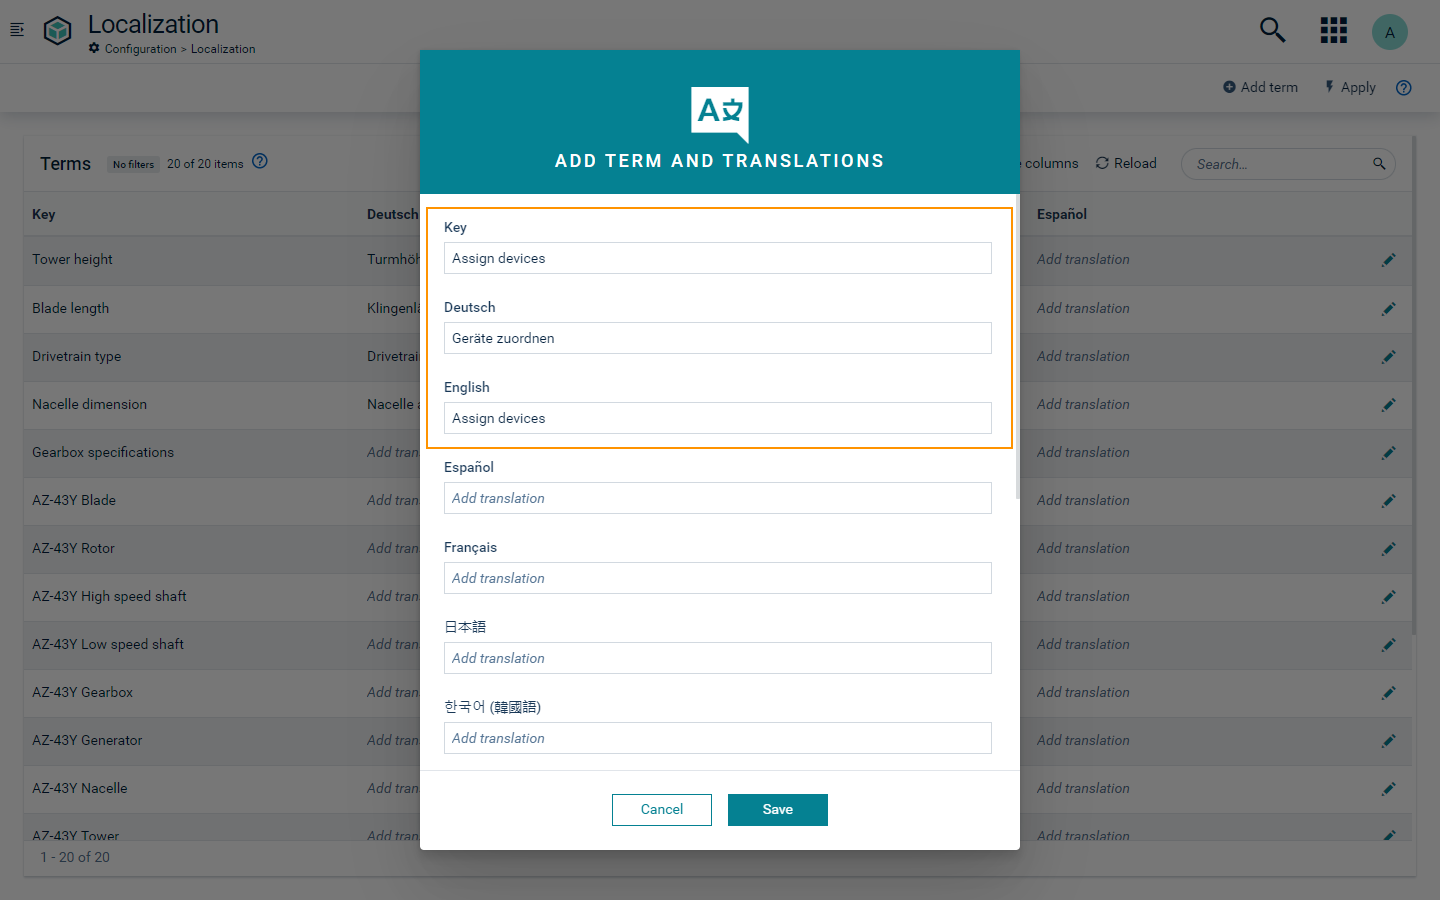
Add new keys and their respective translations using the Add term option on the top right.
Fill all the mandatory fields in the Add term and translations dialog and click Save. The new key is saved including the added translations.
Next, click Apply to apply the changes.

To add and edit translations
You can add or edit translations for all the keys in two ways:
- Hover over the respective column for the edit icon to be visible.
- Click the icon to select the desired language.
- Add or edit the translation.
- Click Save.
or:
- Click the edit icon in each row to open the Edit term translation dialog.
- Add or edit the translation for any language.
- Click Save.
Click Apply to apply the changes.
Once all your translations are done, you can change the language under User settings to see the translations in action. For more information see Getting started > User options and settings > To change user settings in the User guide.
The added translations for an asset model or an asset property is seen only in the Assets page.
Translations for other static text of the DTM application are currently available for English and German.