Getting Started
The Getting Started section describes how to access and log into the Cumulocity IoT platform and will walk you through basic functionalities applying to all Cumulocity IoT applications.
The Getting Started section describes how to access and log into the Cumulocity IoT platform and will walk you through basic functionalities applying to all Cumulocity IoT applications.
You access the Cumulocity IoT platform via a web browser.
Supported browsers in this version are:
[1] Only the latest Extended Support Release of Mozilla Firefox is explicitly supported. Possible incompatibilities will be removed during the regular maintenance process of Cumulocity IoT. Due to frequent upgrades of the Mozilla Firefox consumer release, the compatibility of Cumulocity IoT with other versions of Mozilla Firefox cannot be guaranteed.
[2] The Google Chrome support is based on Google Chrome Version 84. Due to frequent version upgrades of Google Chrome, compatibility of Cumulocity IoT with future versions of Google Chrome cannot be fully guaranteed. Possible incompatibilities will be removed during the regular maintenance process of Cumulocity IoT.
Important: [3] Though Cumulocity IoT is functional on Internet Explorer 11, it does not allow us to provide you with a state-of-the-art user experience. As a result, Cumulocity IoT 10.7 will be the last release that supports this browser. With upcoming releases we will continue to support the latest version of the Microsoft Edge browser as the successor to the Internet Explorer.
You may also use recent smartphone and tablet web browsers. We have tested our products with the following mobile web browsers:
Info: Cumulocity IoT on mobile devices shows some limitations:
To access the applications for your Cumulocity IoT tenant, use the following URL:
https://<tenant-domain>.cumulocity.com/
This will direct you to the login page of your default application. See Tenants in the Cumulocity IoT OpenAPI Specification for further details on tenant ID and tenant domain.
Info: The above URL is only valid for Cumulocity IoT Standard tenant subscribers. For Enterprise tenant deployments of Cumulocity IoT, the URL is specific to your organization.
Important: Make sure that the address bar of your browser shows a lock icon. The lock icon indicates that you are using a secure connection and that you are indeed connected to the Cumulocity IoT platform.
On the Login screen, enter your username (case-sensitive) and password.
If you use one of the public cloud instances of the Cumulocity IoT platform and log in for the first time, you will see a cookie banner at the bottom:
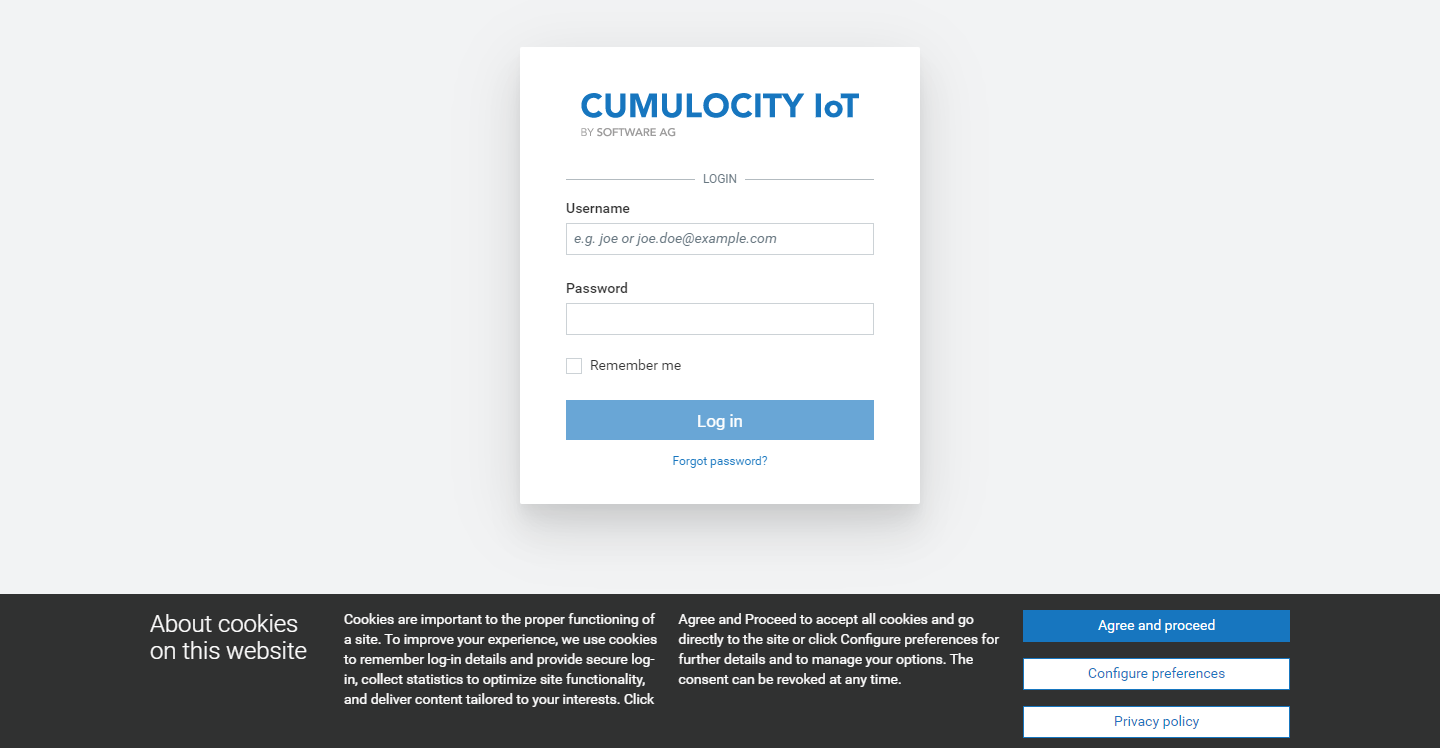
Info: The cookie banner is turned on by default on the Cumulocity IoT public cloud instances. For on-premise instances, this feature can be configured, see Enterprise tenant > Customizing your platform > Branding.
Info: If you have enabled functional cookies you can opt-out from the product experience tracking later on via the User settings dialog, see User options and settings.
Select the Remember me checkbox if you want the browser to remember your credentials, so that you do not have to enter them again when opening the application the next time. This is especially convenient if you frequently switch between Cumulocity IoT applications, as the Cumulocity IoT platform will request you to authenticate each time when starting an application. You can make the browser “forget” your credentials by explicitly logging out.
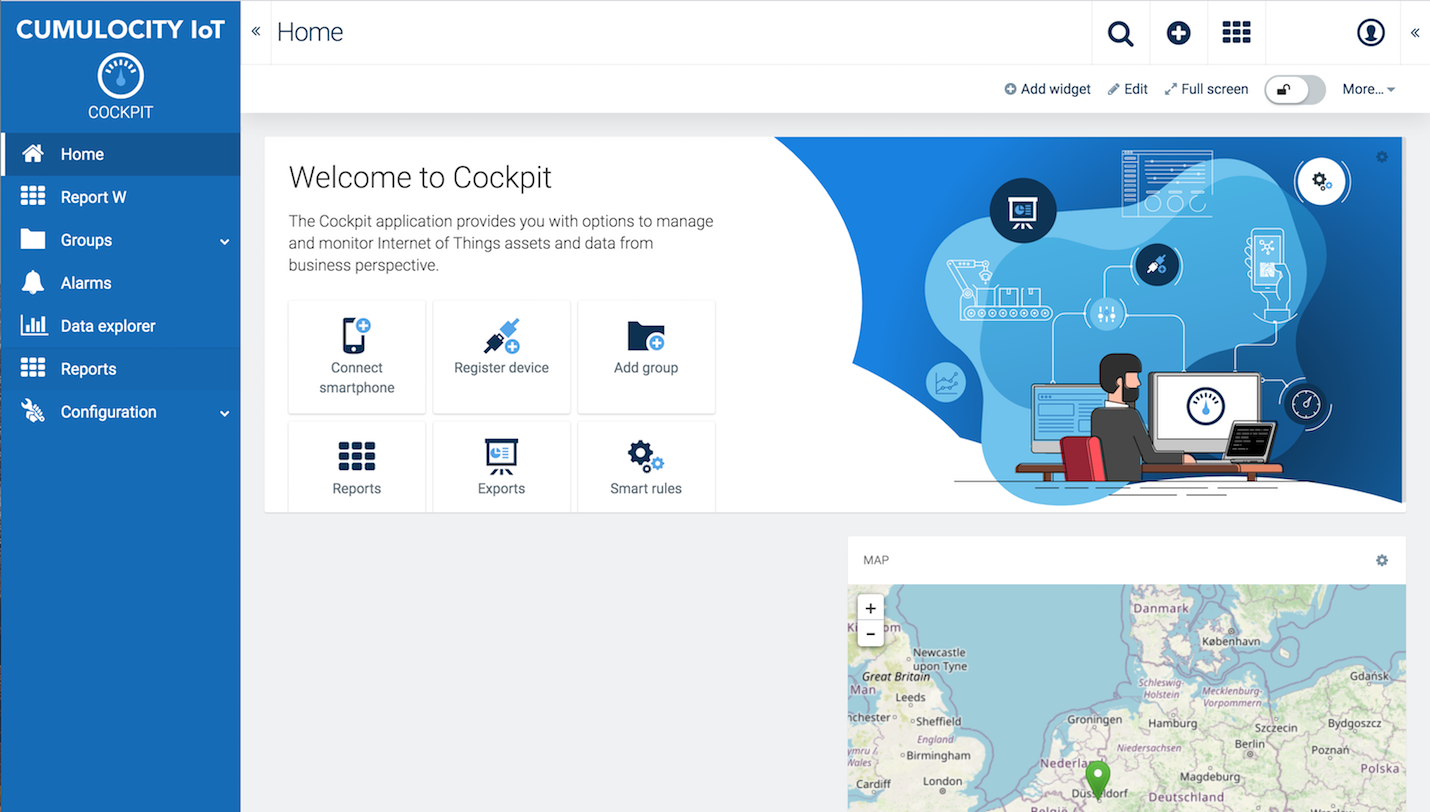
Finally, click Login to enter the Cumulocity IoT platform. Initially, you will be taken to the Cockpit application (if not configured differently).
To explicitly logout, click the User button at the right of the the top bar and from the context menu select Logout.
Info: The maximum number of failed logins (due to invalid credentials), after which a user is locked, can be configured by the Management tenant on platform level, see Cumulocity IoT Core - Operations guide. The default value is 100.
Info: The password reset link is only valid for one day.
Info: The automated password reset will only work if your email address is stored with your Cumulocity IoT user. If you get a warning that the password cannot be reset, you are either using a different email address than the one stored with your Cumulocity IoT user, or your Cumulocity IoT user has no email address stored. In either case, contact a Cumulocity IoT administrator in your organization. Administrators can reset your password.
If you yourself are the primary administrator, your email address used on first registering is automatically stored with your user. If you have questions, please contact product support.
You can navigate straight to any place inside a Cumulocity IoT application using the respective URL. For example, to show the basic information for a device, you can enter the following URL:
https://<tenant-domain>.cumulocity.com/apps/devicemanagement/index.html#/device/<id>/info
Using such an URL, you can:
Per default, Cumulocity IoT comes with the following three standard applications:
| Application | Description | |
|---|---|---|
| Administration | The Administration application enables account administrators to manage their users, roles, tenants, applications and business rules and lets them configure a number of settings for their account. | |
| Cockpit | The Cockpit application provides you with options to manage and monitor Internet of Things (IoT) assets and data from a business perspective. | |
| Device Management | The Device Management application provides functionalities for managing and monitoring devices and enables you to control and troubleshoot devices remotely. |
Apart from these standard applications that initially come with Cumulocity IoT, various additional applications are provided, offering a wide variety of functionalities. The availability of this applications depends on the Tenant you are using and the applications your organization is subscribed to.
Find a detailed list of all applications available with Cumulocity IoT in Administration > Managing applications.
On top of this, the Cumulocity IoT platform provides broad functionality to add your own applications to be used in your Cumulocity IoT account, see Administration > Managing applications for details.
The content of the Cumulocity IoT platform therefore is entirely dynamic and is generated based on various criteria:
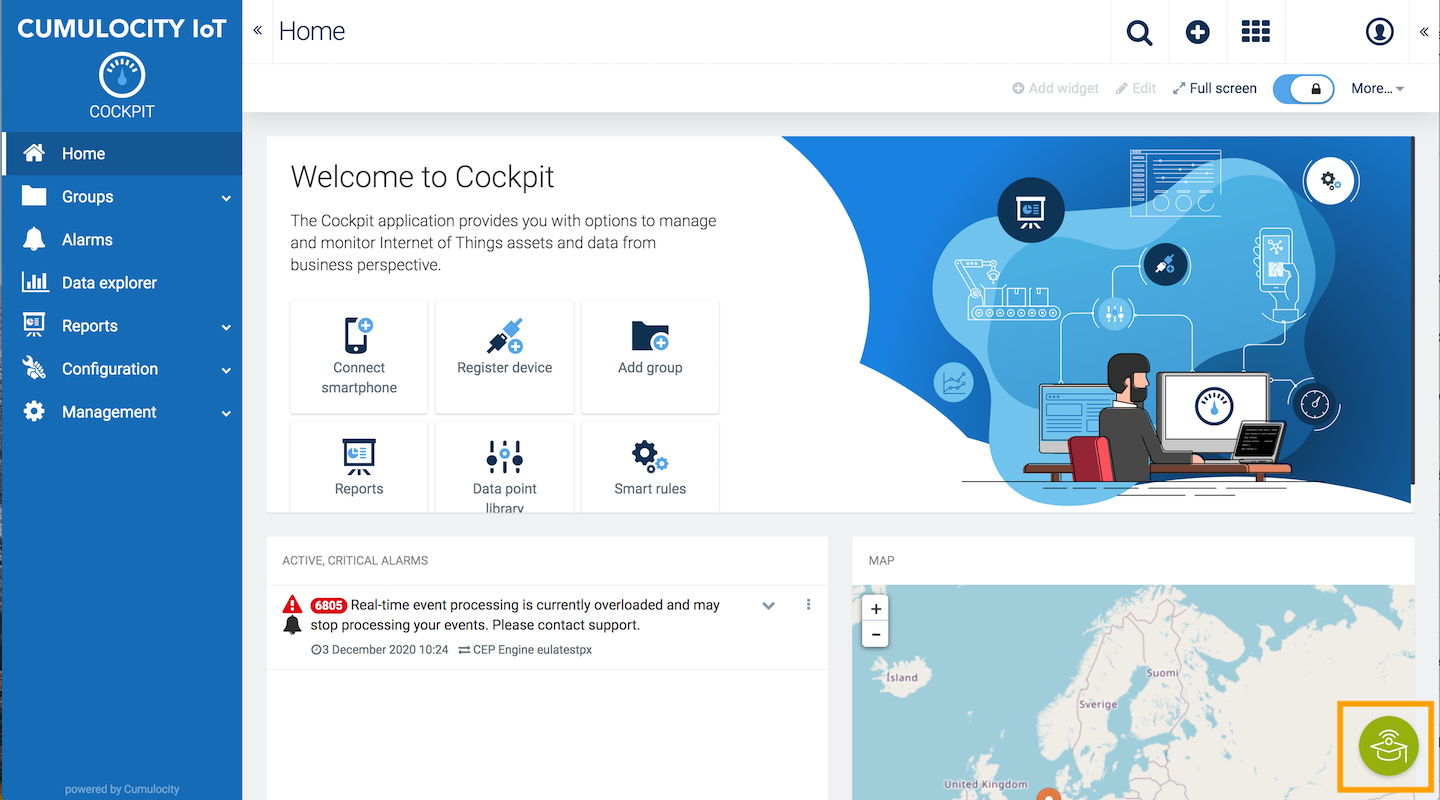
The general structure common to all Cumulocity IoT applications includes the following screen elements:
| Element | Description |
|---|---|
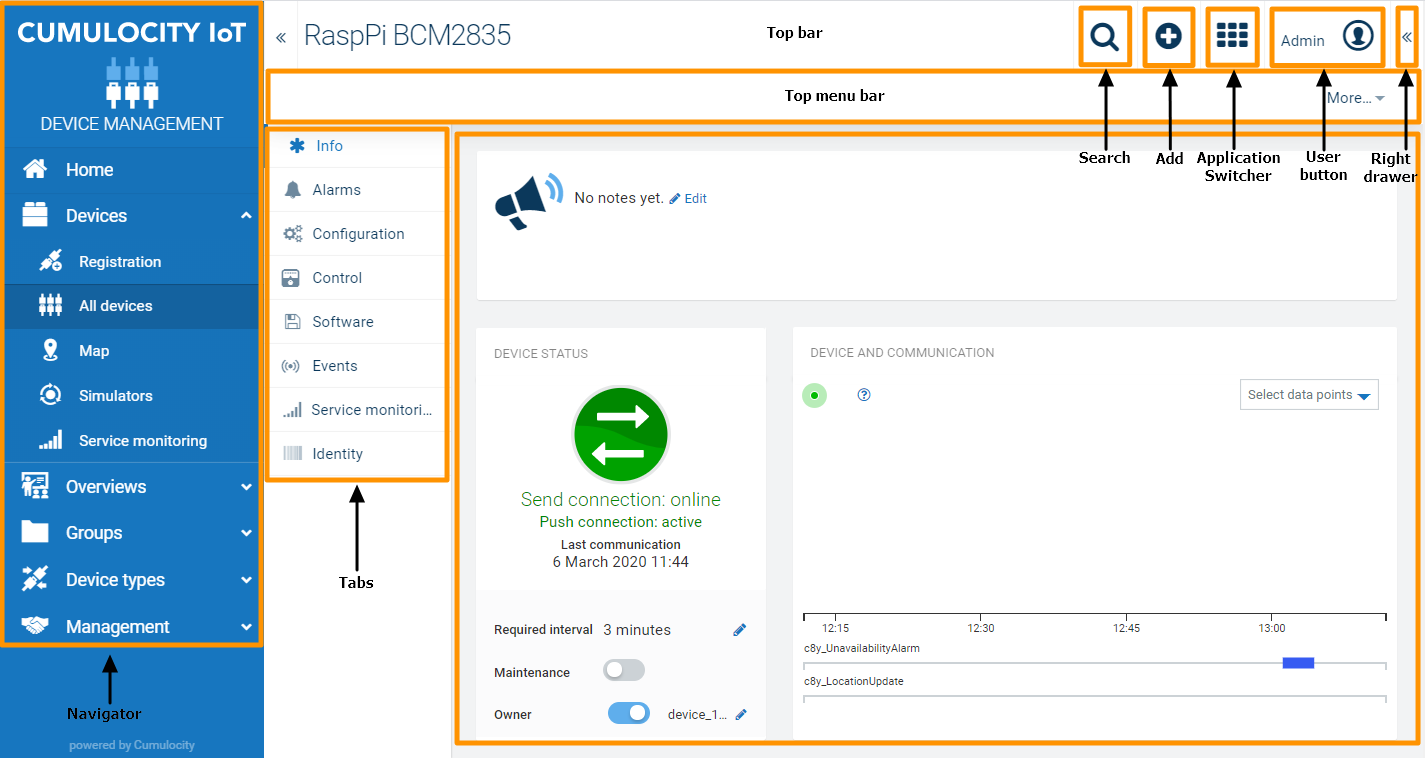
| Navigator | On the left you find the navigator. At the top of the navigator the name and logo of the application is displayed, indicating which application you are currently using. Below you find a list of entries leading to the various pages of the application. The entries are grouped into menus and menu items. You can collapse or expand menus in the navigator by clicking the menu name. Clicking the small arrow at the very left of the top bar will hide/or unhide the navigator. Per default, it is visible. |
| Page | "Page" actually refer to the main area in the application. The content provided here depends on the menu item selected in the dashboard. The structuring of the content differs from page to page. Data may for example be displayed in a list with a row for each object or you may find it being presented in a grid in which objects are represented by cards. |
| Tabs | Some pages, e.g. the page of any particular device, are divided into several tabs, either displayed vertically or horizontally. |
| Top bar | Page title At the left of the top bar the title of the active page is displayed, if any. Clicking the Search button opens a search field to enter text for a full-text search. For details, see Searching below. Not always available. Most application pages show an Plus button at the top bar. Clicking it opens a context menu providing further functionalities. The context menu is created dynamically, i.e. it depends on the active page which commands are provided. Clicking the Application Switcher button opens the application switcher which allows you to quickly switch between applications. Right from the Application Switcher button you will find the User button with your user name. Clicking it will open up a context menu with commands related to your account settings. Other buttons/ information may be available in the top bar depending on the application and the page being displayed. |
| Top menu bar | Depending on the active application and the active page, a secondary bar is displayed below the top bar providing further functionalities like a Reload link for reloading the page or a Realtime link for the display of realtime data. |
| Right drawer | Clicking the small arrow at the very right of the top bar will unhide/hide the right drawer, offering quick links to other applications and to relevant documentation. Per default, the right drawer is hidden. |
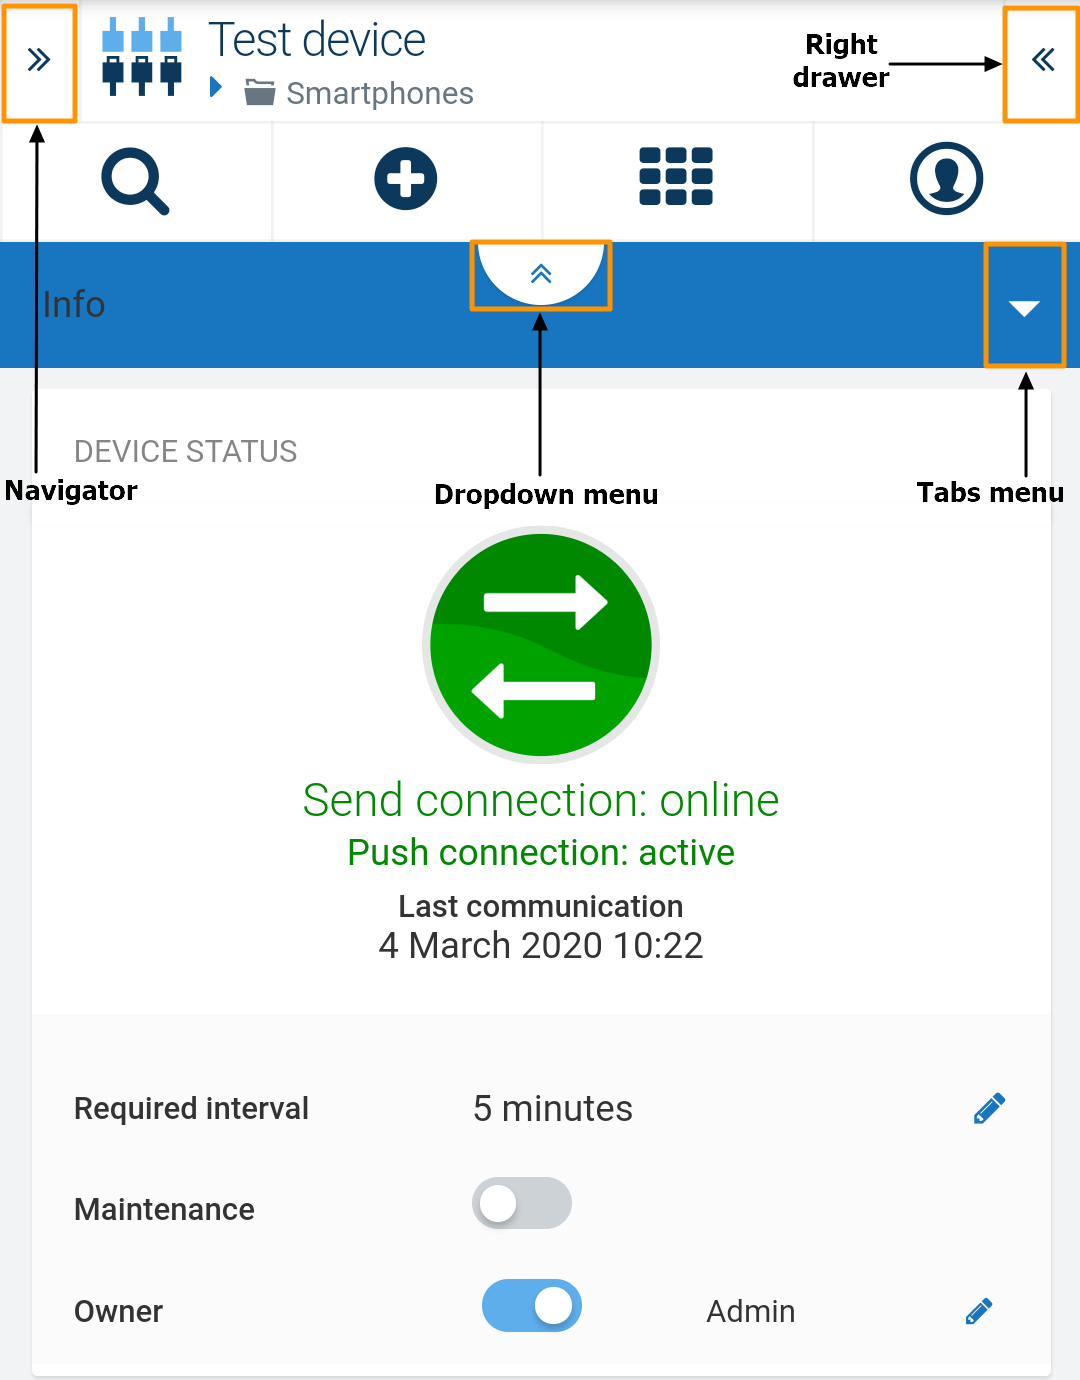
On smaller screens, the layout is slightly different. The navigator is hidden and can be accessed by clicking the arrow icon on the top left. Only the active tab is displayed. To switch tabs, click the arrow on the tab header and select a tab from the list.
Info: Cumulocity IoT applications provide tooltips when you hover over a particular screen element. When you use Cumulocity IoT applications on touch devices, tooltips are shown when you touch a screen element for a longer time.
The application switcher allows you to quickly switch between applications. Click the Application Switcher button at the right of the top bar to display a list of icons representing applications.
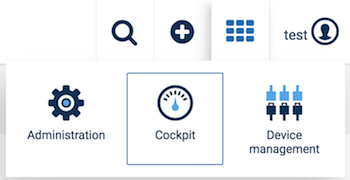
The application switcher shows all Cumulocity IoT applications you currently have access to. These can be subscribed applications, either built-in or custom ones, and own applications. Just click the icon for the desired application to open it as active application.
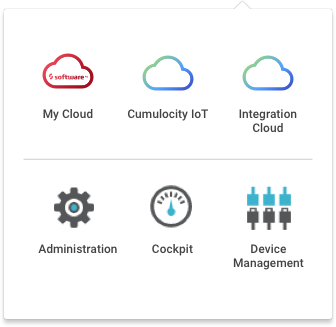
If you are using Software AG Cloud, the application switcher also shows other Software AG Cloud applications at the first level, followed by the Cumulocity IoT applications:
Cumulocity IoT provides a full text search, available through the Search button ![]() at the right of the top bar in the UI.
at the right of the top bar in the UI.
On entering a search term into the textbox at the top of the Search window, Cumulocity IoT returns all assets (groups, devices, child devices) matching the search criteria.
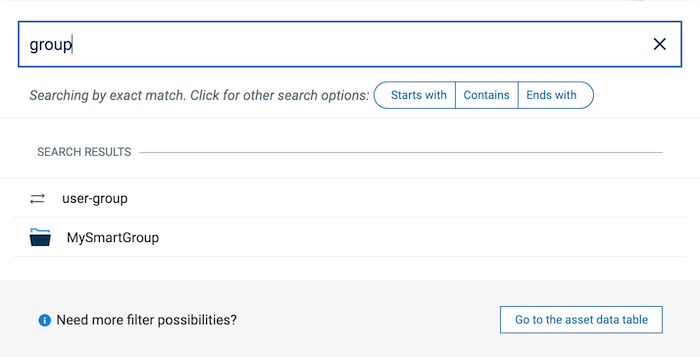
Under Search results, the assets matching the search criteria are shown. To see more details click Go to the assets table at the bottom right. This will show the entire search results in a table format, see also Device Management > Grouping devices > Subassets tab.
The Search window only lists a limited number of matches. In case of more matches, to see the complete results you need to switch to the asset table.
Important: The search results include all assets containing the search term in any property (name, model, any fragment), i.e. the search results do not only include assets matching the search criteria with their names.
By default, the search option Exact match is applied.
The underlying search functionality is based on the MongoDB full text search. For details, see https://docs.mongodb.com/manual/text-search/.
Entering multiple words separated by a blank returns all objects that match any of the words. For example, entering
My Demo Device
will return objects containing “My”, “Demo” or “Device”.
If you want to search for objects matching an exact phrase enclose it in quotation marks:
"My Demo Device"
You can also exclude words by putting a hyphen before the word to search the inventory for objects containing e.g. “My” or “Demo” but not “Device”:
My Demo -Device
Case is ignored. The following search texts return the same result:
My Demo Device
my demo device
Other than with filtering, using wildcards in a search is not supported.
Instead, you can switch the search option by clicking one of the following buttons: Starts with, Contains, Ends with. This will search for assets starting with, containing or ending with the search term, respectively.
Some pages offer a filtering functionality to filter objects in a list.
As opposed to the search functionality, on entering filter criteria you must not necessarily enter complete words.
In many cases you can just enter any arbitrary text into the text field, even just 2-3 characters. Entering
cl
will reduce the list to all objects containing the string “cl”.
In other cases you may enter * as wildcard character to return all objects starting with “cl”:
cl*
The list will immediately be reduced to the selected objects.
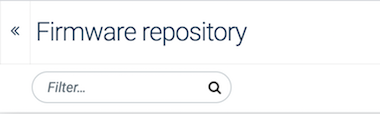
Important: On certain pages, the filter mechanism only searches through items shown on a page. This means that if an item is not listed on the respective page, it will not appear in the results. You need to load all results first to search through all items. This behavior applies to the following pages:
- Device protocols
- Firmware repository
- Software repository
- Configuration repository
- Tenants
- File repository
For details on the filtering mechanism in the devices list refer to Device Management > Viewing devices > To filter devices.
In the navigator, changes are not updated in real time, i.e. new, removed or renamed devices or groups will not be updated immediately.
You will only see such changes in the navigator of the application, in which you have made the changes. For example, if you unassign a device from a group in the Device Management application you will immediately see it removed from the group in the navigator of your current application, but if you have another window open with e.g. the Cockpit application you won’t see the changes.
You will only see the changes after a refresh or another request (expanding a group in the navigator for example).
Clicking the User button at the top right will open a menu which provides access to various actions or information.
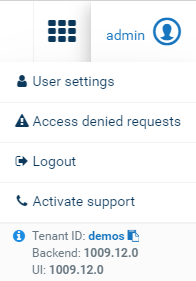
The User menu contains the following items:
| Menu item | Description |
|---|---|
| User settings | Provides access to the user settings, see below. |
| Access denied requests | Shows a list of data requests which could not be accessed due to missing permissions, if any. |
| Logout | Logs you out from your Cumulocity IoT account. |
| Activate support | Allows support users to access your account. This option is only available if support user access is not set globally for subtenant users in the Management tenant, see Support user access for details. After the support user access has been activated, the menu item switches to Deactivate support. If your support request has been resolved but the duration for the support user access is not expired (24 hours per default) you can actively disable an active support user request here. |
| Version information | Shows release information on the Cumulocity IoT version you are using, i.e. 10.5.8, for both Backend and UI. Moreover shows the ID of your tenant, which might be required if you request support. Click the copy icon next to the tenant ID to copy it to the clipboard. |
Several account settings can be changed by the user.
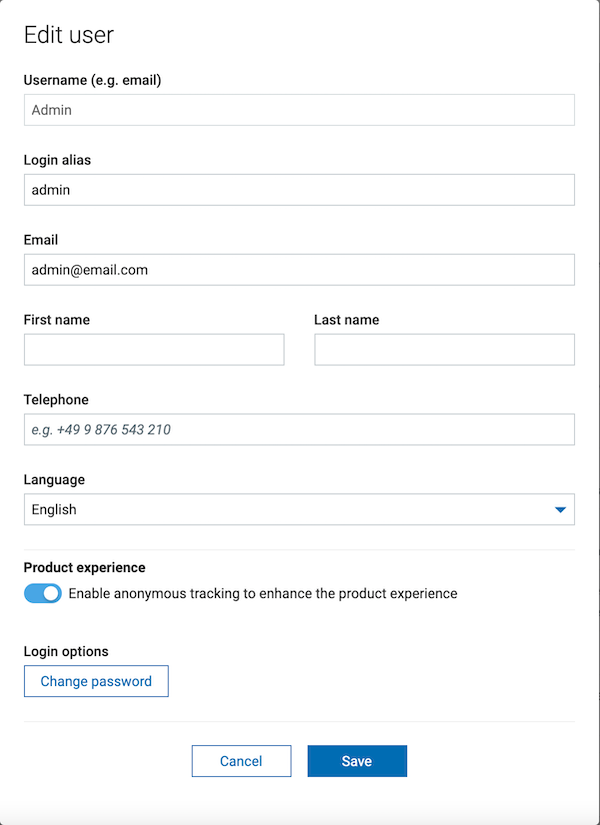
The user interface language will be selected along the following criteria, in the order listed below:
The UI is available in the following languages:
| Language | Language code |
|---|---|
| English (default) | en |
| Brazilian Portuguese | pt_BR |
| Chinese | zh_CN |
| Chinese, traditional | zh_TW |
| Dutch | nl |
| French | fr |
| German | de |
| Japanese | ja_JP |
| Korean | ko |
| Polish | pl |
| Russian | ru |
| Spanish | es |
Make sure to select a strong password. To support you in doing so, a password strength indicator is displayed along with a password change.
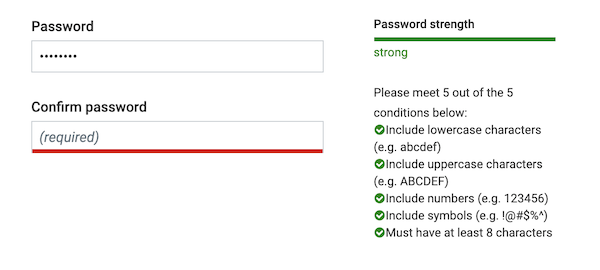
By default, the password must meet the following conditions:
Info: The password rules can be configured by the administrator, i.e. your administrator can configure your account to enforce a password policy. You may be required to pick a strong password for example or to change your password regularly.
The Knowledge Hub provides you access to short videos, tours, articles, help and shortcuts, and thus serves as an entrance point to your Cumulocity IoT platform experience.
Info: The Knowledge Hub is only available for users of free trial tenants.
At the bottom right of the Cumulocity IoT platform UI, click the Knowledge Hub button to access the Cumulocity IoT Knowledge Hub.
The Knowlegde Hub dialog opens, presenting a couple of options in a list.
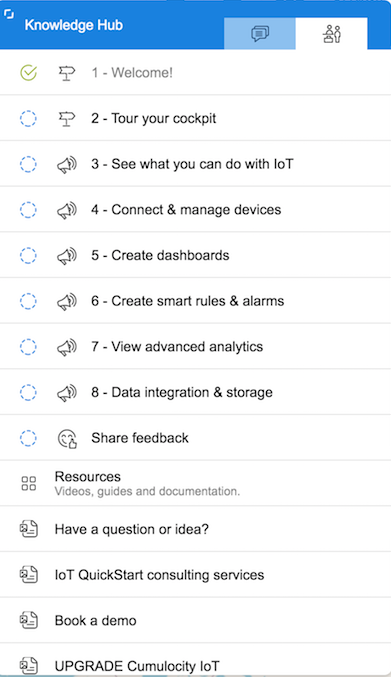
Info: The options provided in the Knowlegde Hub dialog will frequently be updated so that the sessions, resources and communication options you see in the platform might not match exactly those shown in the image above and described below.
The first items of the list guide you in a step-by-step manner through the major topics of Cumulocity IoT:
| Topic | Description |
|---|---|
| 1- Welcome! | Welcomes you to Cumulocity IoT |
| 2 - Tour your cockpit | Guides you through the main UI areas |
| 3 - See what you can do with IoT | Leads you to a demo project where you can get a first impression of the capabilities of Cumulocity IoT |
| 4 - Connect & manage devices | Provides a quick link to connect your smartphone using the Cumulocity IoT Sensor App |
| 5 - Create dashboard | Explains how to get started with dashboards |
| 6 - Create smart rules & alarms | Shows you how to put your data to use by creating smart rules & alarms |
| 7 - View advanced analytics | Introduces you to analyzing your data using streaming and predictive analytics |
| 8 - Data integration and storage | Shows how to integrate IoT data with other apps across your organization |
Info: After following an item and returning to the Knowledge Hub list you will find a green checkmark in front of the item in the list to help you remember which sessions you already followed or watched. Note that these sessions may vary from time to time.
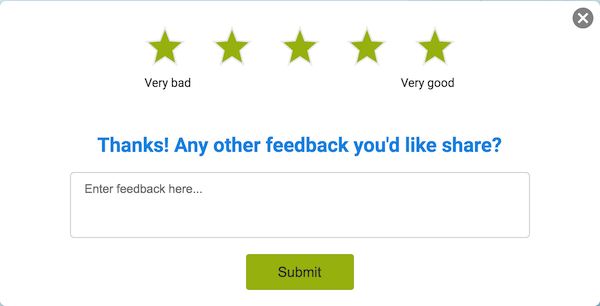
Below the introductory sessions in the Knowledge Hub list, click Share feedback to leave your feedback. You can quickly rate your experience (1-5 stars) and provide written feedback too.
Click Resources to switch to the Resources list.
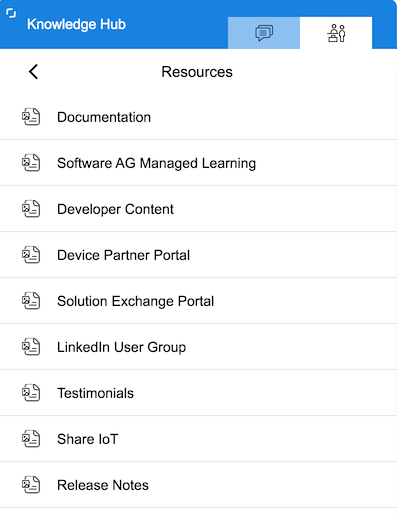
Here you can find links to various additional resources like documentation, training, developer resources, and release notes.
At the bottom of the list in the Knowledge Hub dialog, you can find several options to get in contact with us as required, for instance:
These options may vary from time to time.